If your iPhone is showing “SOS” or “SOS Only” instead of the usual signal bars, you may be unable to make calls, send texts, or use cellular data. This article will guide you through the steps to resolve the issue. Follow along to troubleshoot the SOS mode on your iPhone and get your device connected to the network again.
What Does “SOS” or “SOS Only” Mean on iPhone?
“SOS” or “SOS Only” on your iPhone indicates that your device is connected only to emergency services. This usually means your phone can’t connect to your usual cellular network but can still call emergency services (like 911). Typically, the SOS mode happens when there are network issues, coverage limitations, or settings problems on the device.
Step-by-Step Guide to Fix SOS Mode on iPhone
1. Check Your Network Coverage
- Sometimes, your iPhone may show “SOS” if you’re in an area with poor or no network coverage. Move to a different location with better signal strength.
- Verify if other devices on the same network are experiencing similar connectivity issues. If they are, it’s likely an issue with the network provider.
2. Toggle Airplane Mode
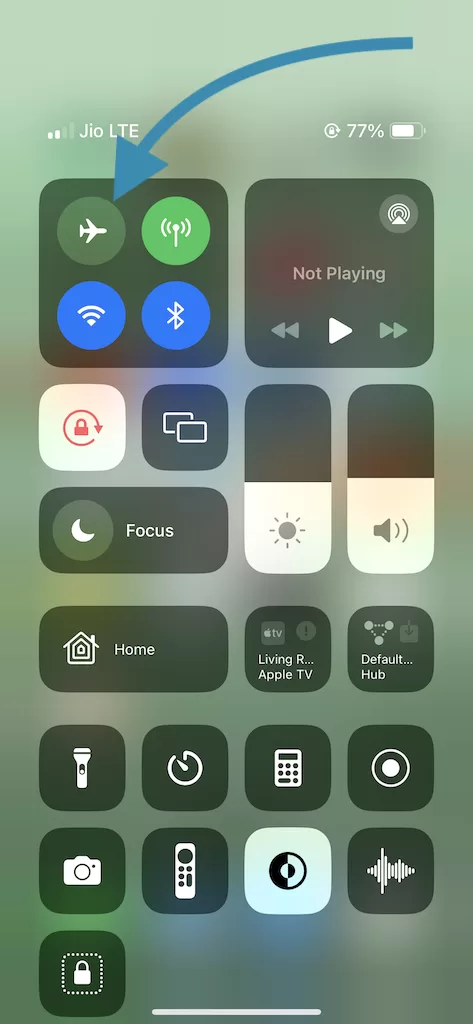
- Open the Control Center by swiping down from the upper-right corner of the screen.
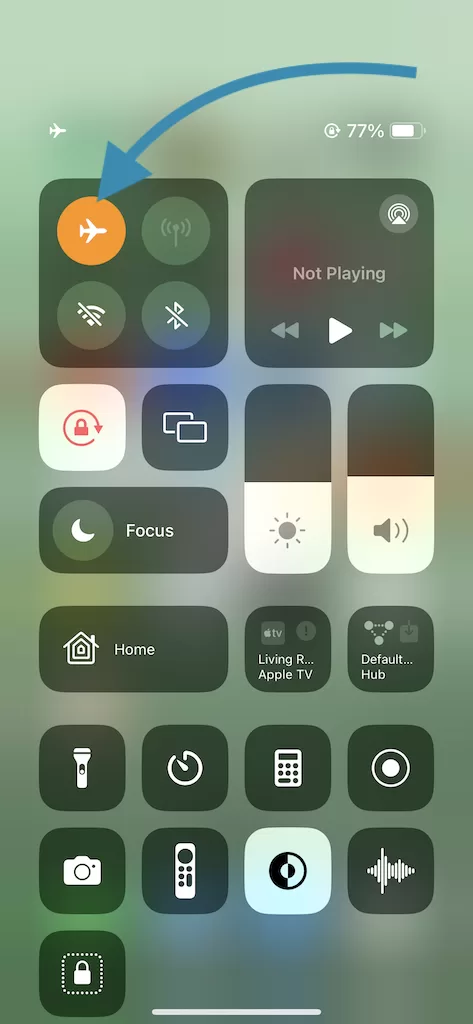
- Tap on the Airplane Mode icon to turn it on.
- Wait for about 10 seconds, then tap it again to turn it off.
- This refreshes your iPhone’s connection to cellular networks and can sometimes solve SOS issues.
3. Restart Your iPhone
- Restarting your iPhone is a simple but effective way to fix various issues.
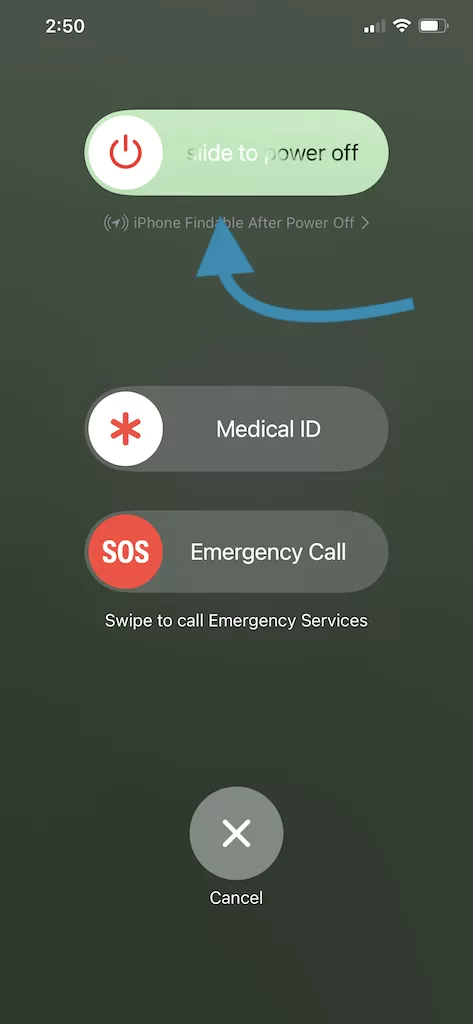
- To restart, press and hold the Power button (or Power + Volume Down on some models) until the Slide to Power Off option appears.
- Slide to power off, wait a few seconds, and then press the Power button again to turn the phone back on.
4. Check Cellular Settings
- Go to Settings > Cellular and make sure Cellular Data is turned on.
- Scroll down to Network Selection and disable Automatic mode if enabled. Then select your network manually if it appears in the list.
- Sometimes, toggling the network selection setting can help your device find the signal again.
5. Update Carrier Settings
- Carrier updates are essential for maintaining a good connection to the cellular network.
- Go to Settings > General > About. If an update is available, a pop-up will appear, asking if you’d like to update your carrier settings.
- Install any available updates. These updates ensure that your phone’s connection settings align with the network’s latest changes.
6. Update iOS to the Latest Version
- Apple frequently releases iOS updates with bug fixes, which could solve issues like SOS mode.
- Go to Settings > General > Software Update and check if an update is available.
- Download and install the latest iOS version if available.
7. Check for SIM Card Issues
- Sometimes, a faulty or incorrectly inserted SIM card can cause network problems.
- Remove the SIM card from your iPhone using a SIM ejector tool.
- Check for any dirt or damage on the card, then carefully reinsert it.
- After reinserting, check if the SOS signal has cleared.
8. Reset Network Settings
- If your iPhone is still showing SOS, a network settings reset might help.
- Go to Settings > General > Transfer or Reset iPhone > Reset > Reset Network Settings.
- This will erase saved Wi-Fi passwords and VPN settings, but it can often resolve persistent network problems.
- After the reset, reconnect to your cellular network and check if the SOS issue is fixed.
9. Contact Your Carrier
- If none of the steps above work, the issue might be with your carrier’s network.
- Contact your network provider’s customer support for assistance. They may be able to provide additional troubleshooting steps or notify you if there is an outage in your area.
10. Visit an Apple Store or Authorized Service Provider
- If your iPhone is still stuck in SOS mode after all troubleshooting steps, there may be a hardware issue.
- Visit the nearest Apple Store or Apple Authorized Service Provider. They can diagnose potential hardware issues and offer solutions.
- Also checkout https://support.apple.com/en-us/120000
Frequently Asked Questions (FAQs)
1. Why is my iPhone saying SOS only?
- SOS mode means your iPhone is connected to emergency services but not your usual network. This could be due to poor network coverage, SIM issues, or incorrect settings.
2. How do I turn off SOS on iPhone?
- You can turn off SOS mode by following the troubleshooting steps in this guide. Start by checking network coverage, restarting your iPhone, and resetting network settings.
3. Will SOS mode disappear on its own?
- In areas with better signal coverage, SOS mode may turn off automatically. However, if the problem persists, following the steps above should help resolve it.
Conclusion
The SOS mode on iPhone is intended to allow emergency calls, but if it persists, it could disrupt your regular mobile services. This guide offers practical steps to troubleshoot and fix SOS mode on your iPhone. By following these steps, you should be able to restore your connection to the cellular network.
If you’re experiencing ongoing problems, consider reaching out to your carrier or visiting an Apple Store.
This guide covers everything you need to know about fixing the SOS mode on iPhone, ensuring your device works smoothly. By implementing these steps, you’ll be able to resolve the issue and regain access to your full cellular capabilities.
Optimize your search with related keywords like “SOS only issue on iPhone” and “iPhone showing SOS,” and you’ll find answers right here, helping you fix SOS mode in no time!
CHECK THESE APPS FOR YOUR IPHONE AND IPAD:
1. EXIF VIEWER BY FLUNTRO
VIEW, EDIT, REMOVE EXIF METADATA FOR PRIVACY
Knowing whether an app contacts external servers is equally important. It helps you understand where your data is going, who might have access to it, and how it affects your device’s performance and security. By regularly checking your app privacy reports, especially on iOS, you can stay informed about these connections and take action to protect your data.
By being proactive about your digital privacy, you can navigate the online world with confidence, ensuring your personal information stays safe and secure.

Appstore link :- https://apps.apple.com/us/app/exif-viewer-by-fluntro/id944118456
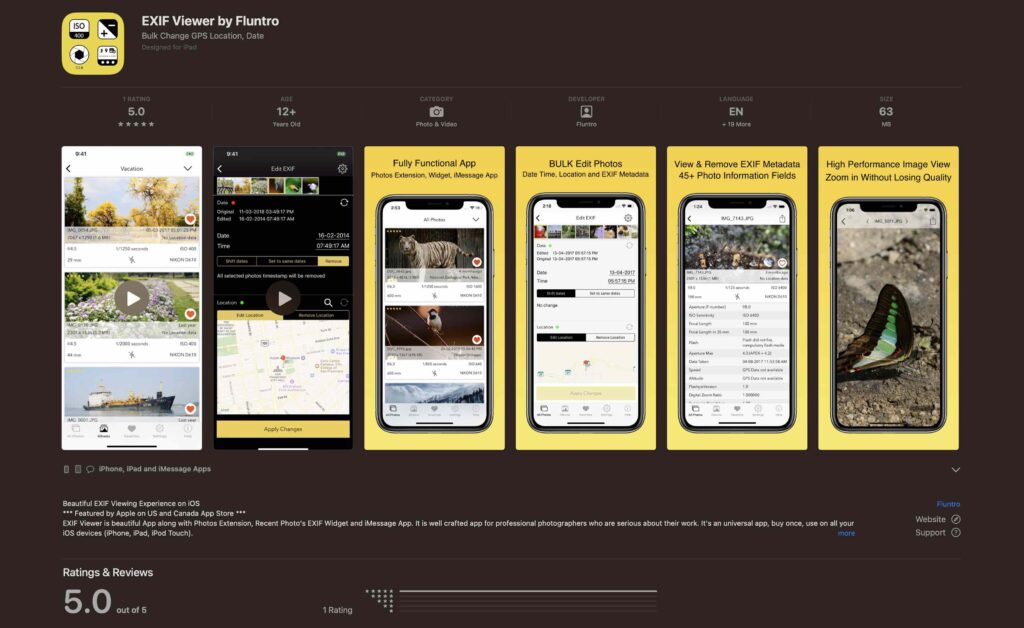
EXIF metadata is an invaluable resource for photographers at all skill levels. It provides insights into your photography, helps you troubleshoot issues, and offers a means of proving authorship and copyright. So, the next time you capture that breathtaking shot, don’t forget to delve into the EXIF metadata – it’s a treasure trove of information waiting to be explored, and it might just be the key to unlocking your photography potential.
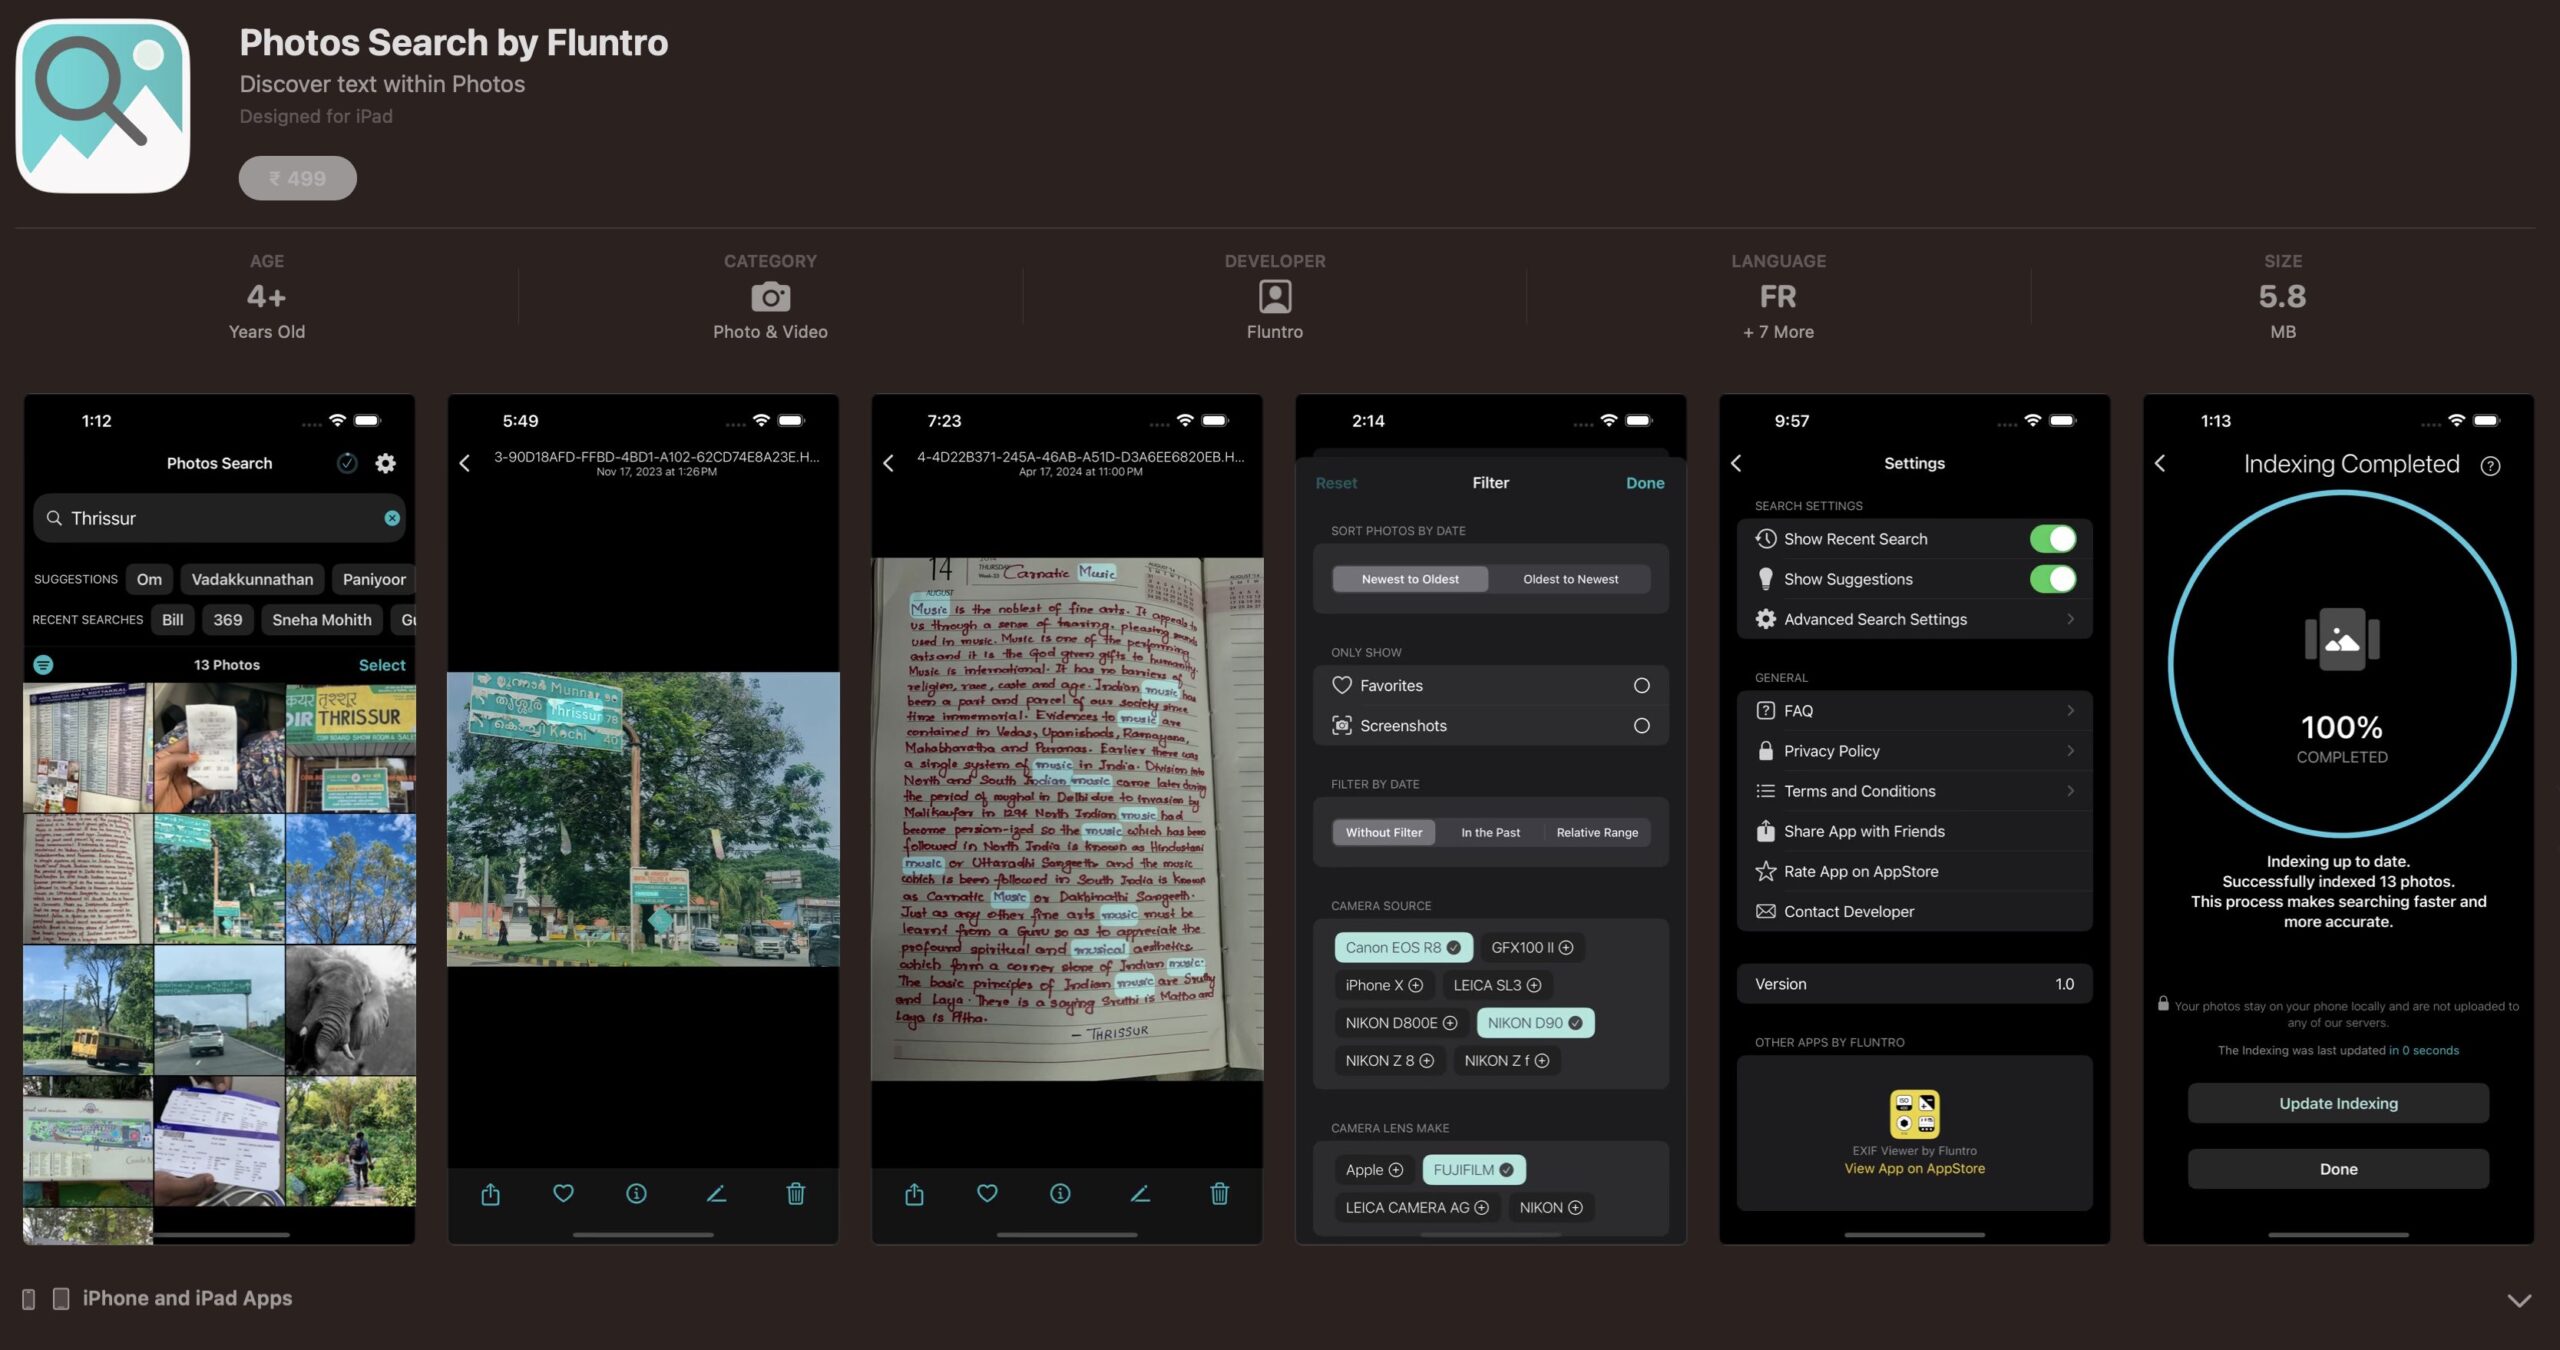
2. PHOTOS SEARCH BY FLUNTRO
YOUR ULTIMATE PHOTO DISCOVERY COMPANION!
Photos Search app takes image searching to a whole new level by allowing you to search for text within photos effortlessly. Unleash the potential of your visual content and discover a seamless way to find and organize your images based on the words they contain. Whether you’re a professional photographer, an art enthusiast, or simply someone who loves exploring beautiful imagery, Photos Search is here to make your search for photos a delightful and hassle-free experience.

AppStore Link: https://apps.apple.com/app/photos-search-by-fluntro/id6471649312
Get two apps by Fluntro Team :Exclusive Bundle Offer
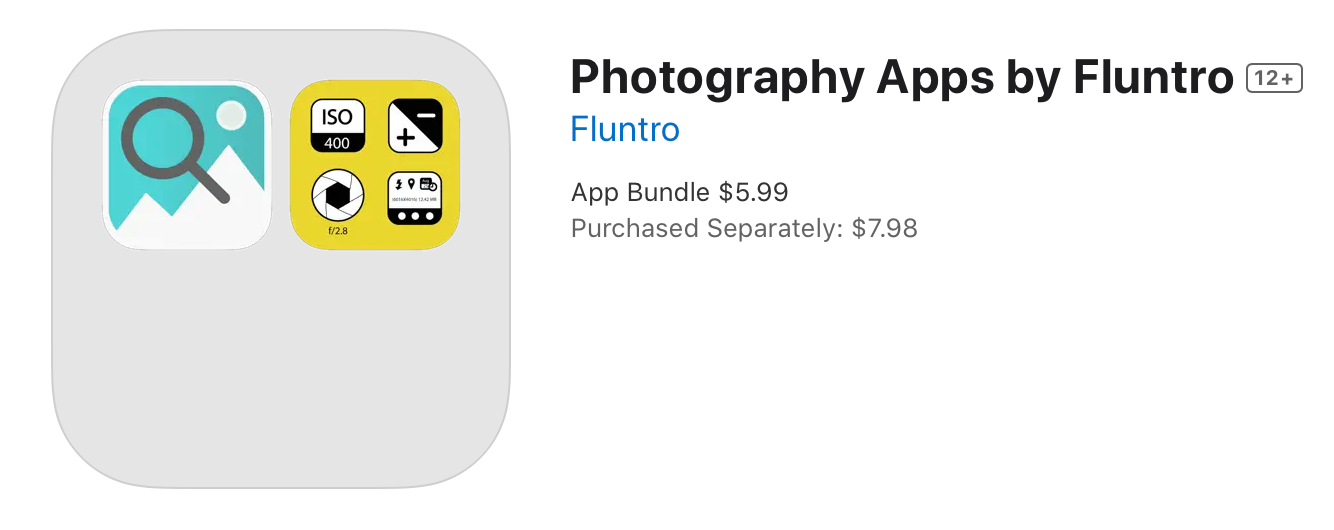
“Exif Viewer” for $2.99 and “Photos Search” for $4.99
Just for $5.99 instead of $7.98

3. KIANA
CUTE ELEPHANT STICKERS FOR IMESSAGE AND IOS
Express yourself with Kiana the Elephant’s adorable sticker collection!
With 66 charming stickers, there’s a cute expression for every mood. From daily chats to special moments, Kiana add joy and whimsy to your conversations. Share laughter, love, and fun with friends and family through these delightful illustrations. Explore a world of playful expressions, featuring Kiana in a variety of charming poses. Spice up your messages with Kiana: Adorable cute elephant stickers today!

Appstore link :- https://apps.apple.com/us/app/kiana-cute-elephant-stickers/id6504343965
