A camera geotagger for a DSLR (Digital Single-Lens Reflex) camera is a device or solution that allows you to add location information, typically in the form of latitude and longitude coordinates, to the metadata of photos taken with your DSLR camera. This geotagging process helps you know precisely where each photo was taken, and it can be particularly useful for various purposes. Below are some of the best geotaggers for Nikon and Canon DSLR cameras and their uses:
1. Nikon GP-1 GPS Unit:
- Compatible with Nikon DSLR cameras.
- Connects to the camera’s accessory port.
- Automatically adds geotags to your photos as you shoot.
- Ideal for photographers who want to easily and accurately geotag their images in real time.
2. Canon GP-E2 GPS Receiver:
- Designed for Canon DSLR cameras.
- Attaches to the camera’s hot shoe or can be connected via a cable.
- Records GPS data and adds it to the photo’s metadata.
- Useful for photographers who want to include location information in their images.
3. External GPS Devices:
- There are third-party GPS devices that can be used with both Nikon and Canon DSLR cameras. Brands like Garmin and Sony offer compatible GPS units that can be connected to your camera.
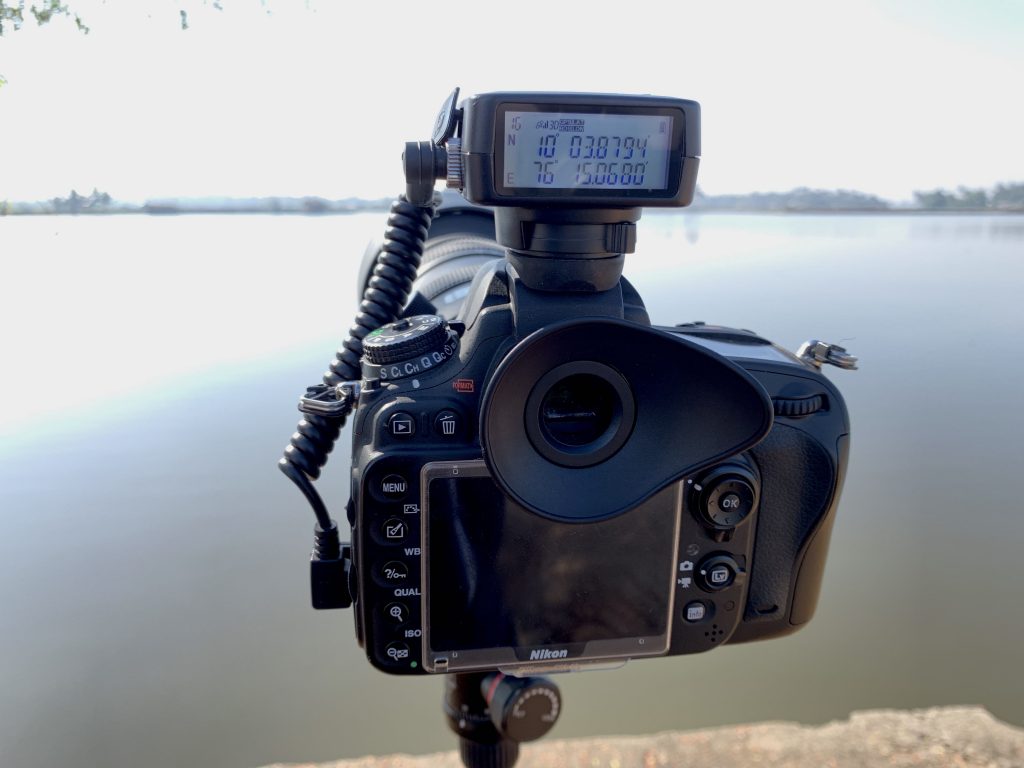
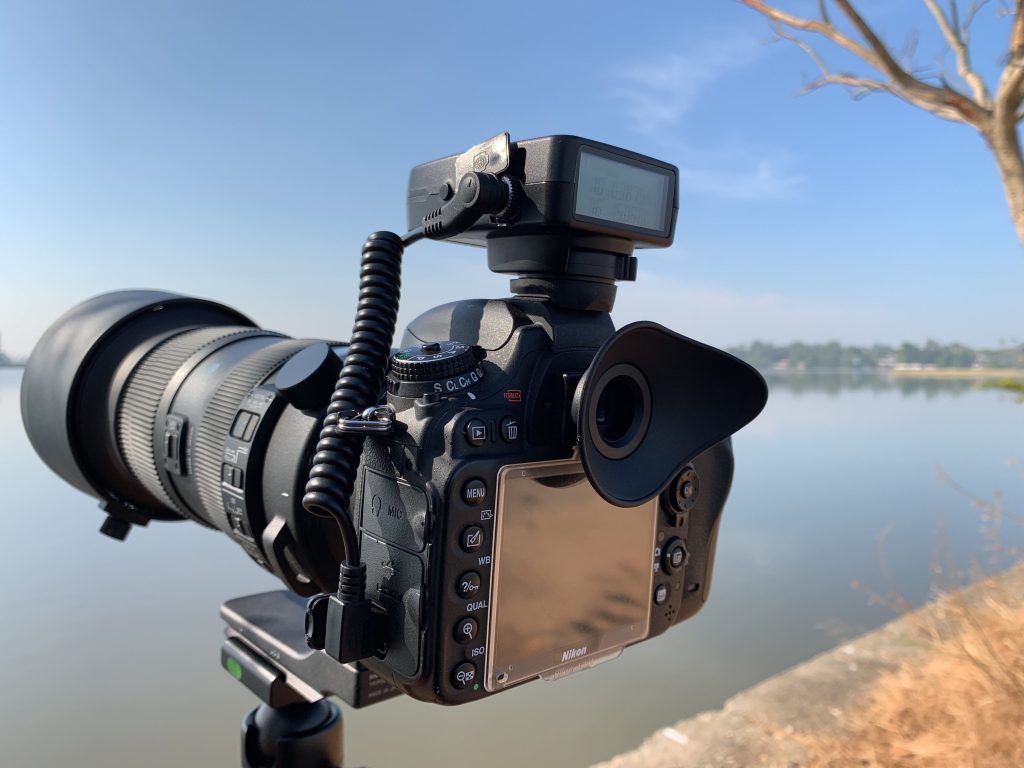
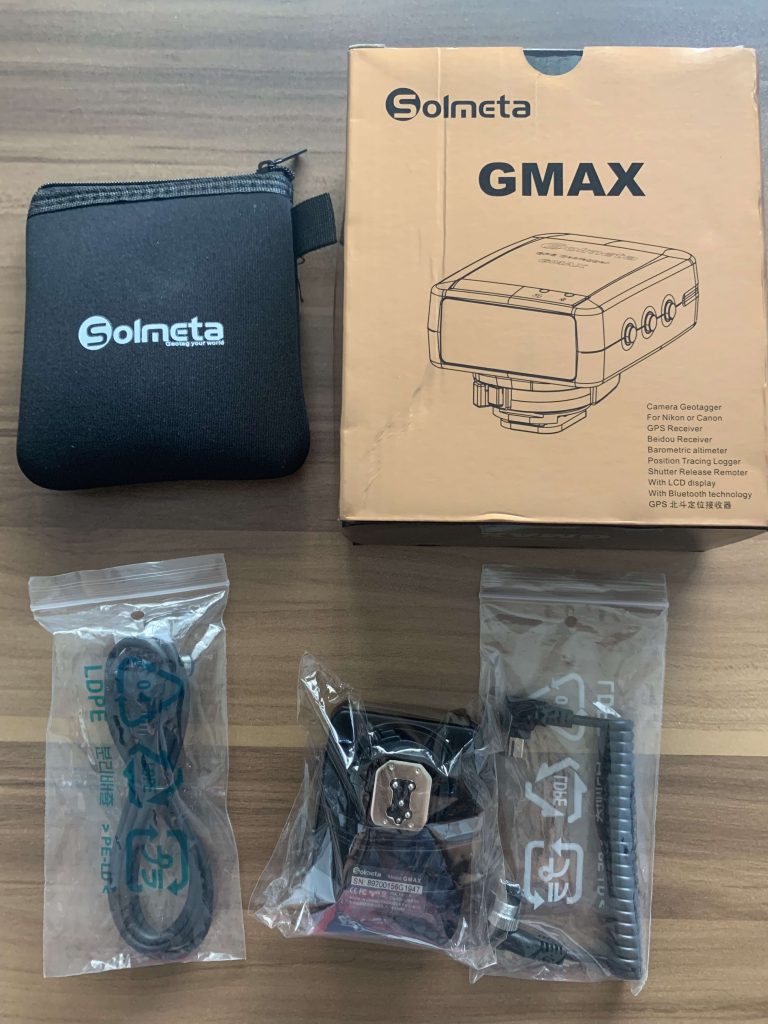
- The Solmeta GMax geotagger is a popular GPS accessory designed for Nikon and Canon DSLR cameras. This geotagger is used to add GPS coordinates to the metadata of photos taken with your DSLR camera.
4. Geotagging Software:
- Instead of external hardware, you can use geotagging software like Photo Mechanic, Adobe Lightroom, or specialized geotagging tools. These software options allow you to add geotags to your photos after you’ve taken them by syncing your photos with GPS tracklogs recorded by a separate device.
5. Using Mobile Apps:
Example: EXIF Viewer by Fluntro is an iOS app that allows you to view and edit Exif metadata, including geotags, in your photos. Here’s a general guide on how to geotag a photo using the EXIF Viewer by Fluntro app:
1. Install the App: If you haven’t already, download and install the EXIF Viewer app from the App Store on your iOS device.
Appstore Link: – https://apps.apple.com/us/app/exif-viewer-by-fluntro/id944118456
2. Open the App: Launch the EXIF Viewer app on your iPhone or iPad.
3. Select single/multiple Photos you want to geotag.
4. Add Geotags:
- To add or edit geotags:
- Tap “Edit EXIF“. If there is already geotag information, it will display the current coordinates.
- Tap the “Add” option, which will allow you to manually enter the GPS coordinates for the location where the photo was taken. You can also use the map feature to select the location visually.
- Save the changes when you’re done.
5. View the Geotagged Photo:
- The photo will now have the new geotag information embedded in its Exif metadata. These images will be saved into a new Album “Exif Edited” in iOS Photos App “My Album”.
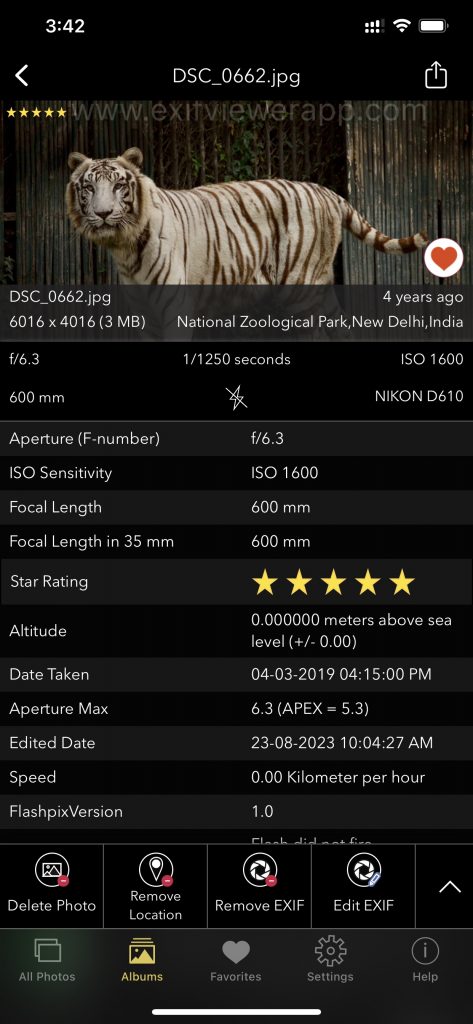
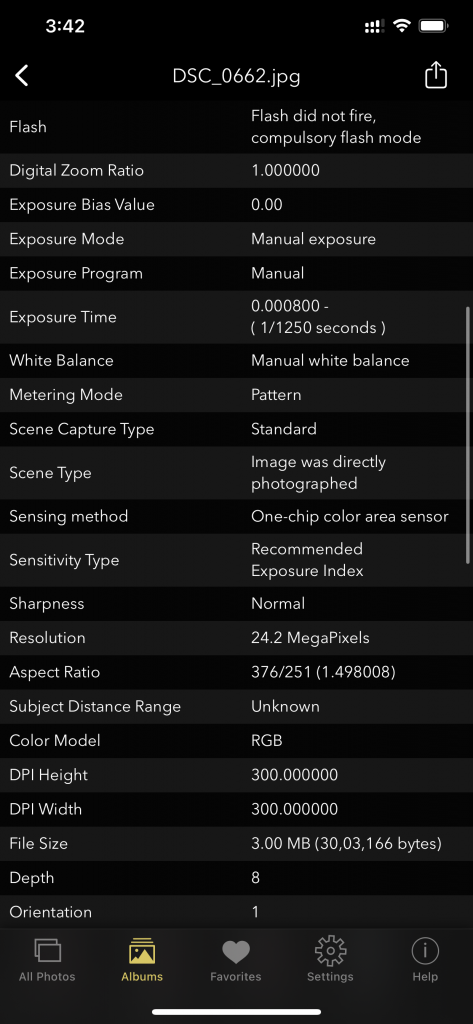
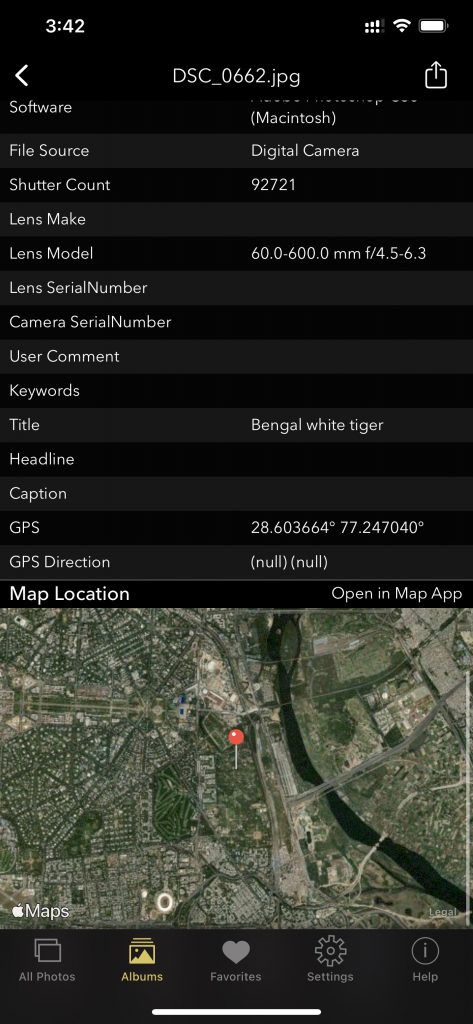
On iOS: Screenshot of EXIF Viewer by Fluntro app displaying detail view of all exif information of a photo
Uses of Camera Geotagging:
- Photo Organization: Geotagging helps you organize your photos by location. You can easily sort and search for images based on where they were taken.
- Travel and Adventure Photography: Geotagged photos are valuable for travel and adventure photographers who want to document their journeys, mark specific landmarks, and remember exact locations they visited.
- Storytelling: Geotags can enhance your storytelling, enabling you to provide context and a sense of place to your audience.
- Location-Based Services: Geotagged photos can be used with location-based services and social media platforms to share your photos with others and let them know where you’ve been.
- Research and Documentation: Geotagging can be essential for research, scientific work, and documentation, such as field studies, archaeological excavations, or environmental monitoring.
- Navigation and Wayfinding: If you’re in an unfamiliar area, geotagged photos can help you navigate back to a specific spot or document points of interest.
- Sharing with Others: Geotags provide viewers with information about the location where a photo was taken, making it more engaging and informative when shared with friends, family, or an online audience.
The choice of a camera geotagger will depend on your specific camera model, preferences, and how you plan to use the geotagging feature. Some DSLR cameras come with built-in GPS, while others require external accessories or software solutions to add geotags.
Checkout the preview video of Exif Viewer by Fluntro: