Taking pictures in the snow with a DSLR camera can yield stunning results, but it does present some unique challenges due to the bright, reflective nature of snow. It requires some specific camera settings and precautions to protect your equipment. Here’s a step-by-step guide:
Camera Settings for Snow Photography:
1. Use the Right Equipment:
- Use a camera with manual settings, such as a DSLR or mirrorless camera, if possible. They provide more control over your exposure settings.
- Use a wide-angle or telephoto lens depending on your desired composition.
2. Exposure Settings:
- Overexpose: Snow can fool your camera’s light meter, making the snow appear gray. To compensate for this, increase your exposure by about +1 to +2 stops. You can do this by using exposure compensation in your camera settings.
- Use a low ISO setting (100-400) for better image quality and to reduce noise.
- Choose a small aperture (higher f-number) for a deeper depth of field if you want everything in your scene to be sharp.
- Use a fast shutter speed to freeze any falling snowflakes or action in the scene.
3. White Balance:
- Set your camera’s white balance to “Daylight” or “Cloudy” to maintain the natural, cool tones of snow. You can also experiment with the “Custom” white balance if needed.
4. Focus:
- Use manual focus or select a single autofocus point to ensure your camera focuses on your intended subject, as snow can confuse autofocus systems.
5. Composition:
- Look for interesting foreground elements, such as trees, people, or objects, to add depth and interest to your photos.
- Experiment with different angles and perspectives to capture the unique beauty of the snowy landscape.
- Use compositional rules like the rule of thirds, leading lines, and framing to create visually appealing shots.
6. Lighting:
- The best times to shoot in the snow are during the “golden hours” (early morning or late afternoon) when the warm sunlight contrasts beautifully with the cold snow.
- Be mindful of harsh sunlight, which can create strong shadows. Overcast or diffused light can provide more even and flattering illumination.
7. Bracket Your Shots:
- Take multiple shots with different exposures (bracketing) to ensure you capture the best possible image. You can then merge these images in post-processing to get the perfect exposure.
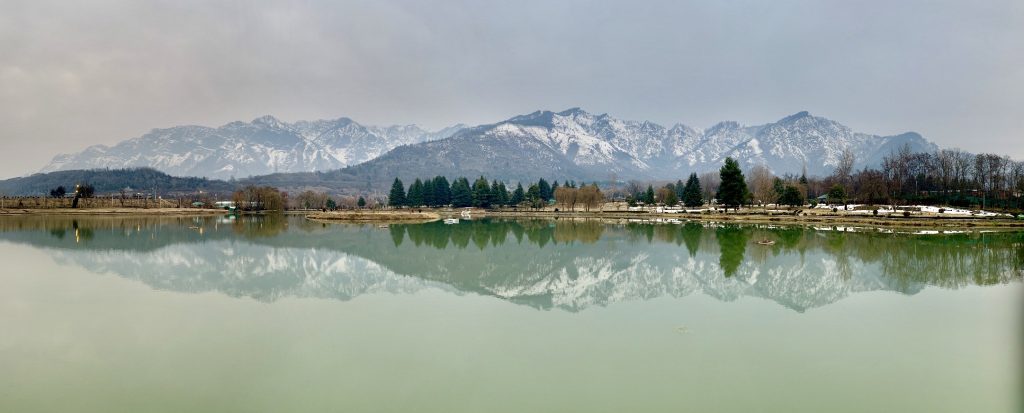
Check some photos taken in the snow and the following EXIF metadata of those photos are displayed using iOS EXIF Viewer by Fluntro.
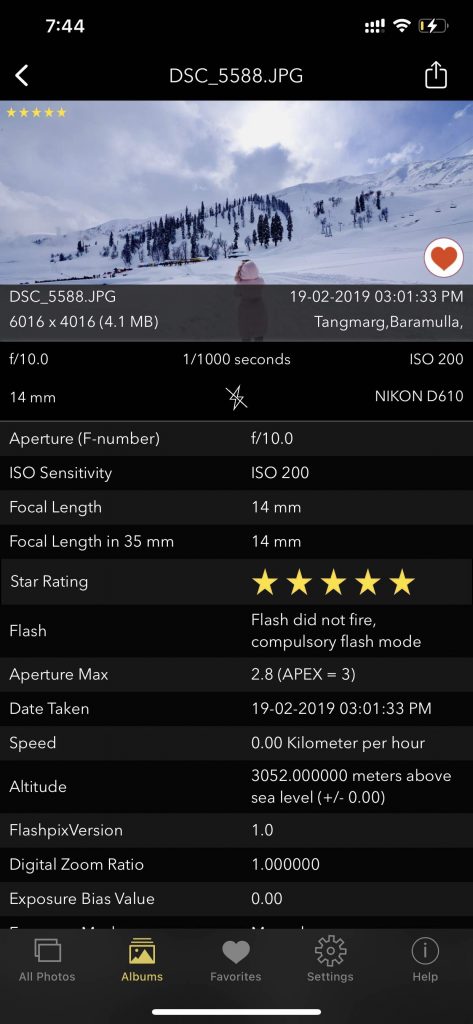
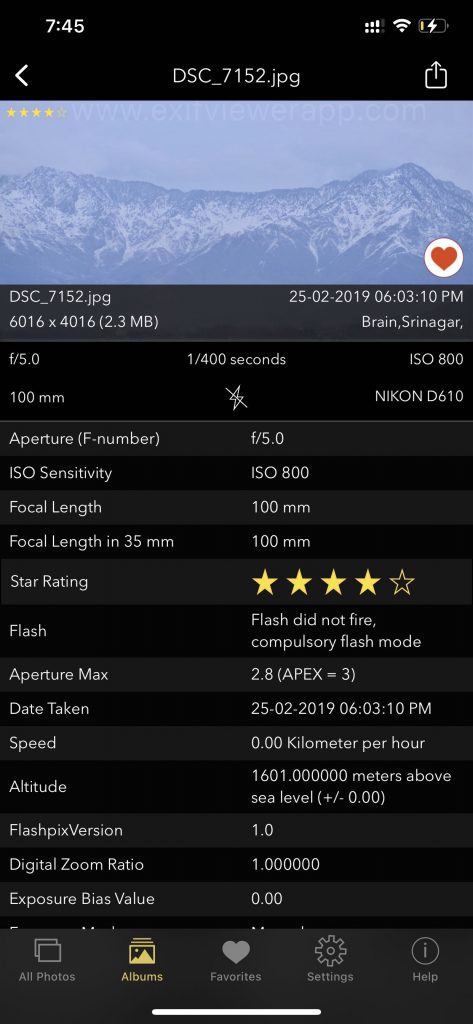
Protecting Your Camera in the Snow:
1. Weather Sealing:
If your DSLR camera is weather-sealed, it provides some protection against moisture. However, it’s still essential to take precautions.
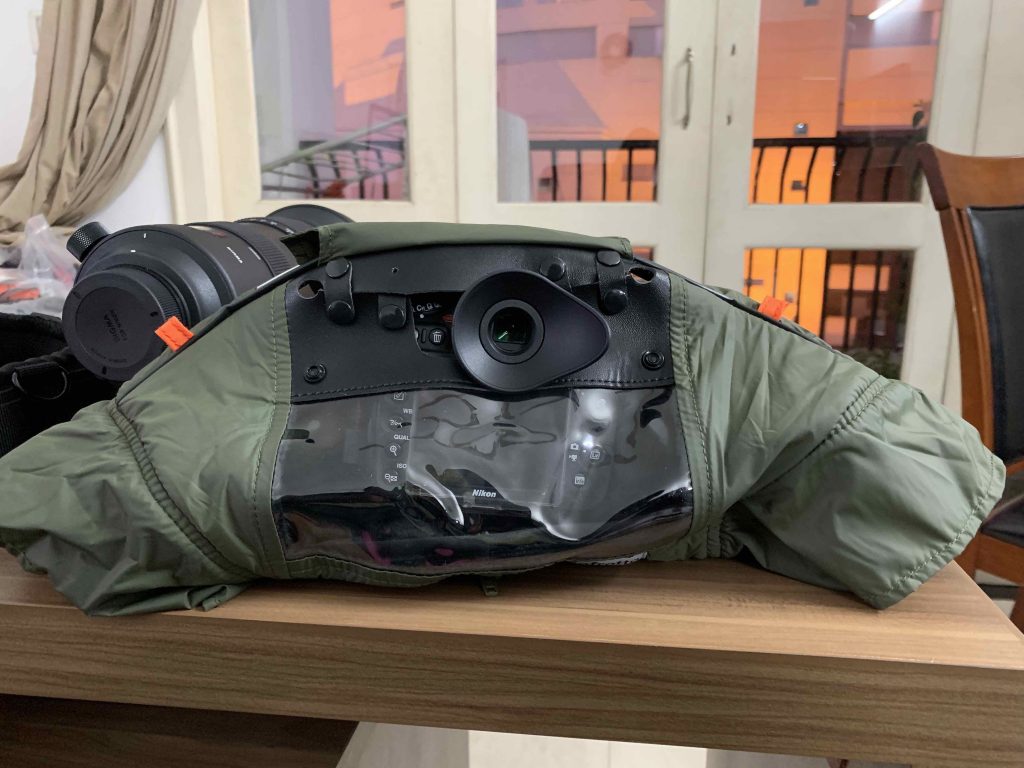
2. Use a Camera Cover:
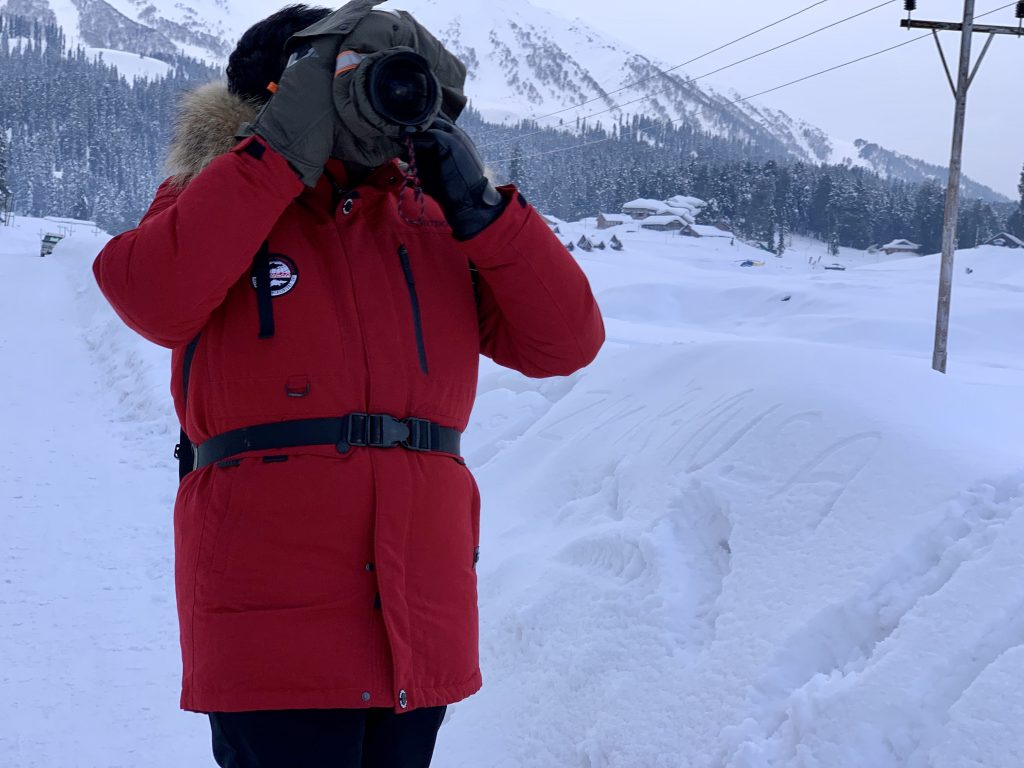
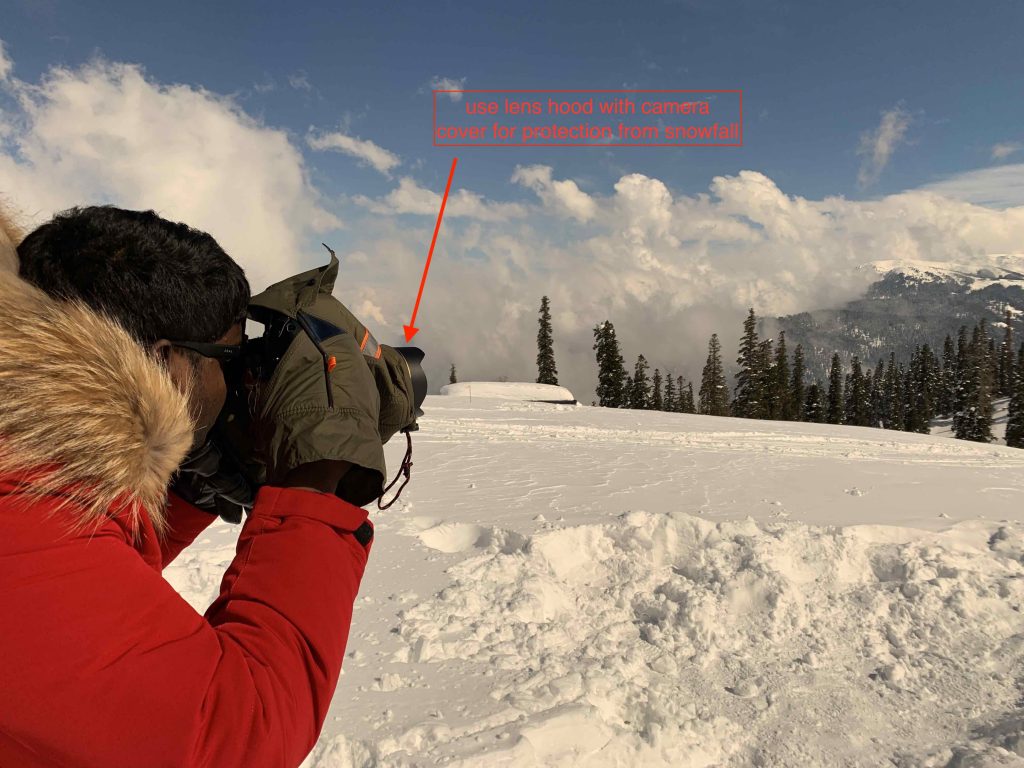
Consider using a specialized camera cover or a simple plastic bag with a hole for your lens to keep your camera dry during snowfall.
3. Lens Hood:
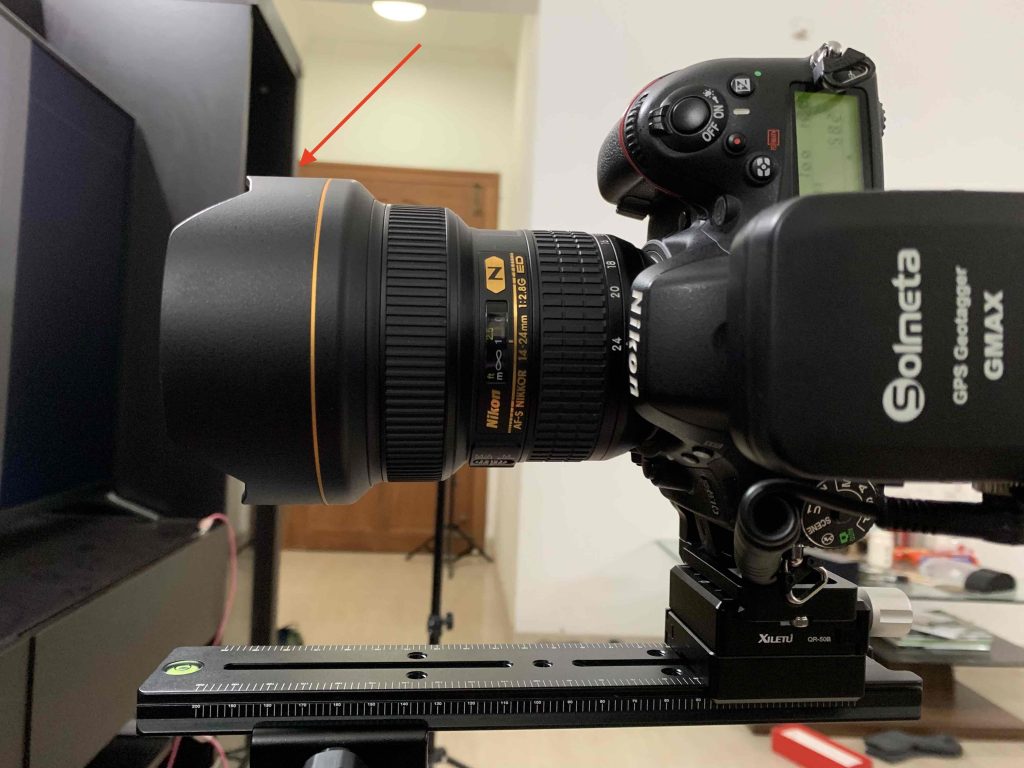
Attach a lens hood to help shield your lens from snowflakes or moisture.
4. Use a Tripod:
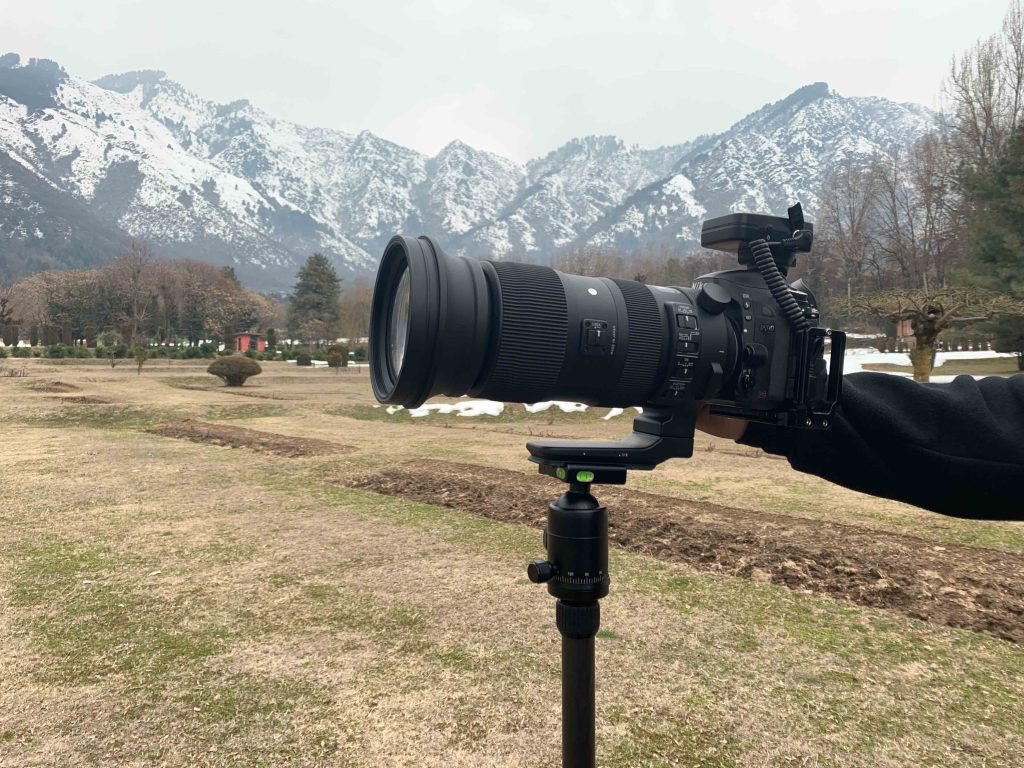
A sturdy tripod can help keep your camera stable, especially in cold and wet conditions.
5. Protect the Battery:
Cold temperatures can drain your camera’s battery more quickly. Carry extra batteries and keep them warm (close to your body) until you need them.
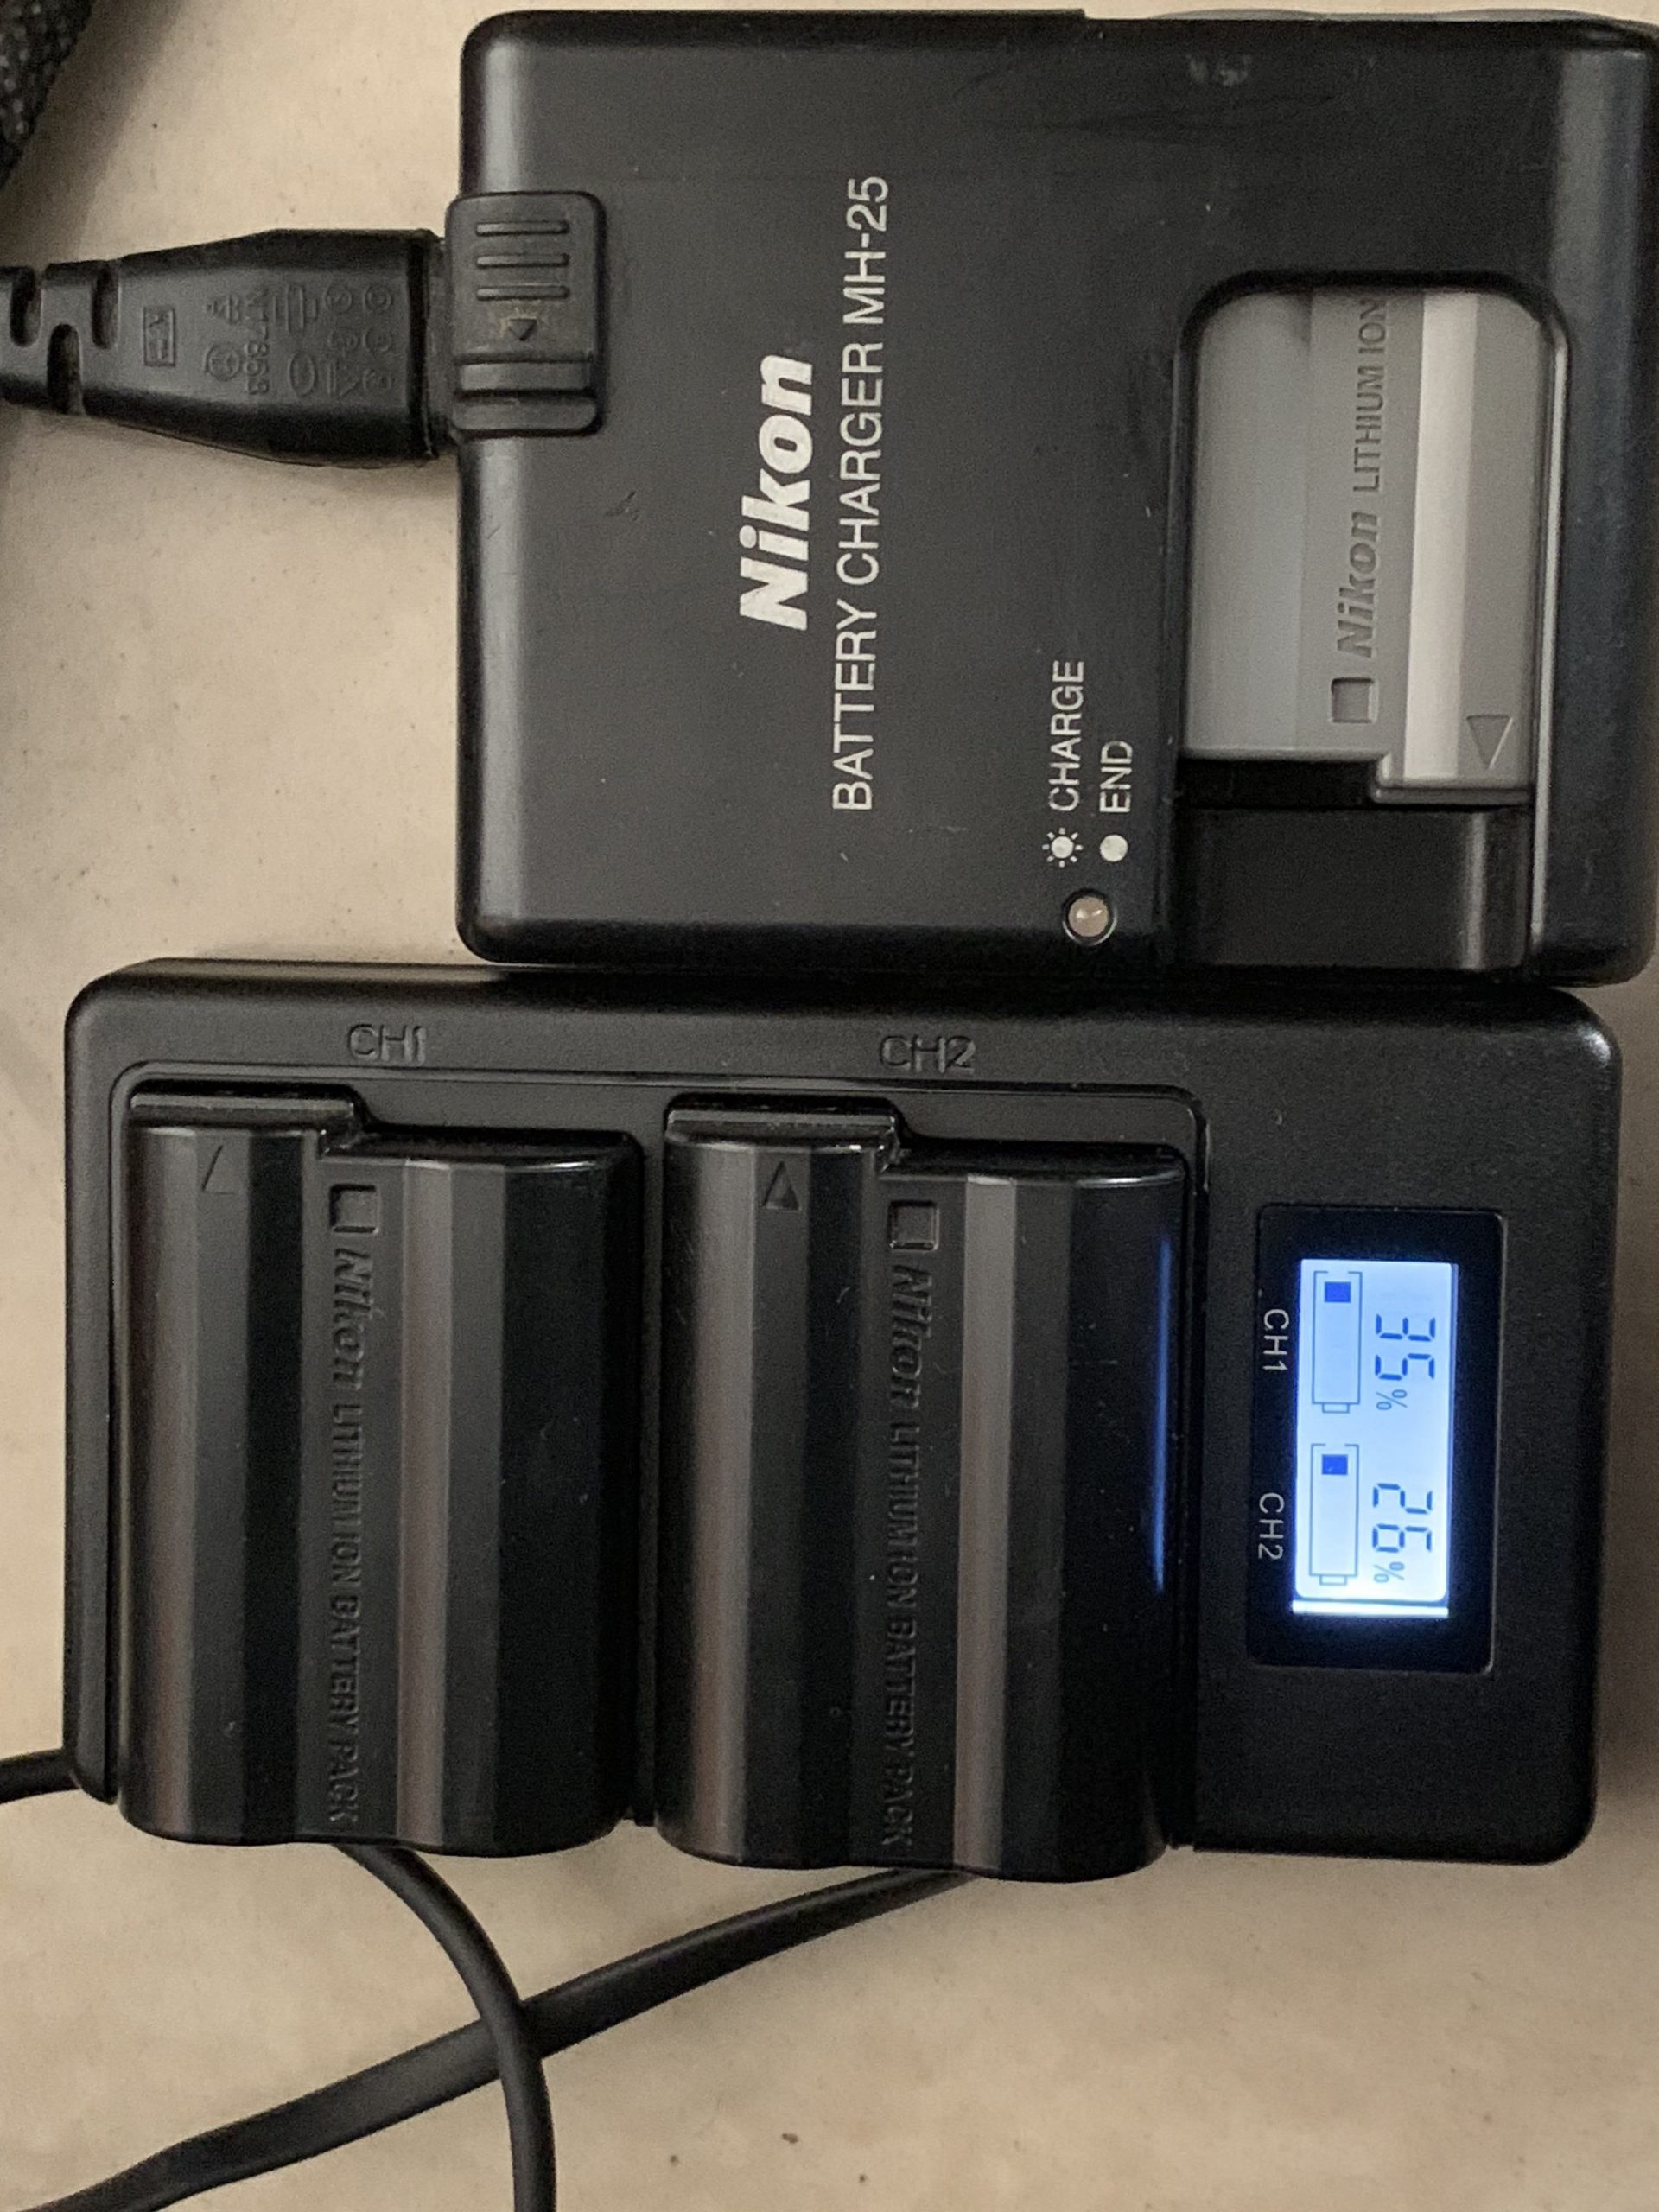
6. Be Cautious of Condensation:
When transitioning between cold outdoor temperatures and warm indoor environments, be mindful of condensation forming on your camera and lens. Allow the equipment to acclimate gradually to room temperature to prevent moisture buildup.
- Silica Gel Packets: Silica gel packets are small sachets filled with silica gel, a highly effective desiccant (moisture-absorbing) material. You can place these packets in your camera bag or storage cases to help reduce moisture levels and prevent condensation, especially in humid environments.


7. Carry Lens with Cover:
Consider using lens cover to keep your camera lens dry and dust proof during windy and heavy snow fall.
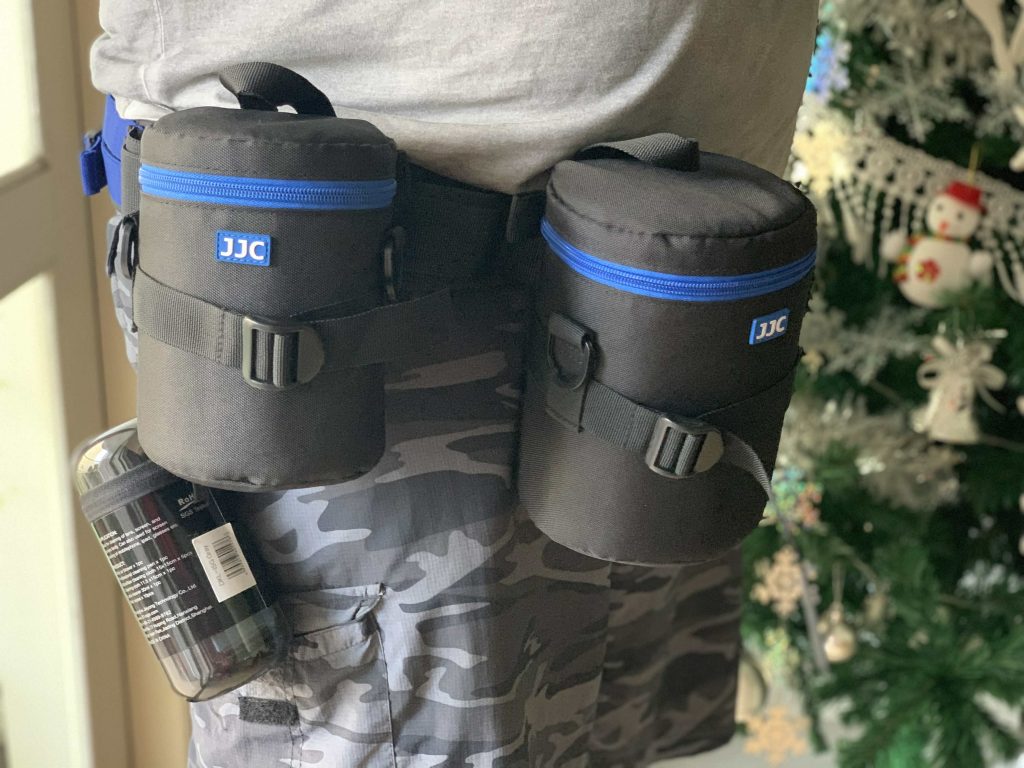

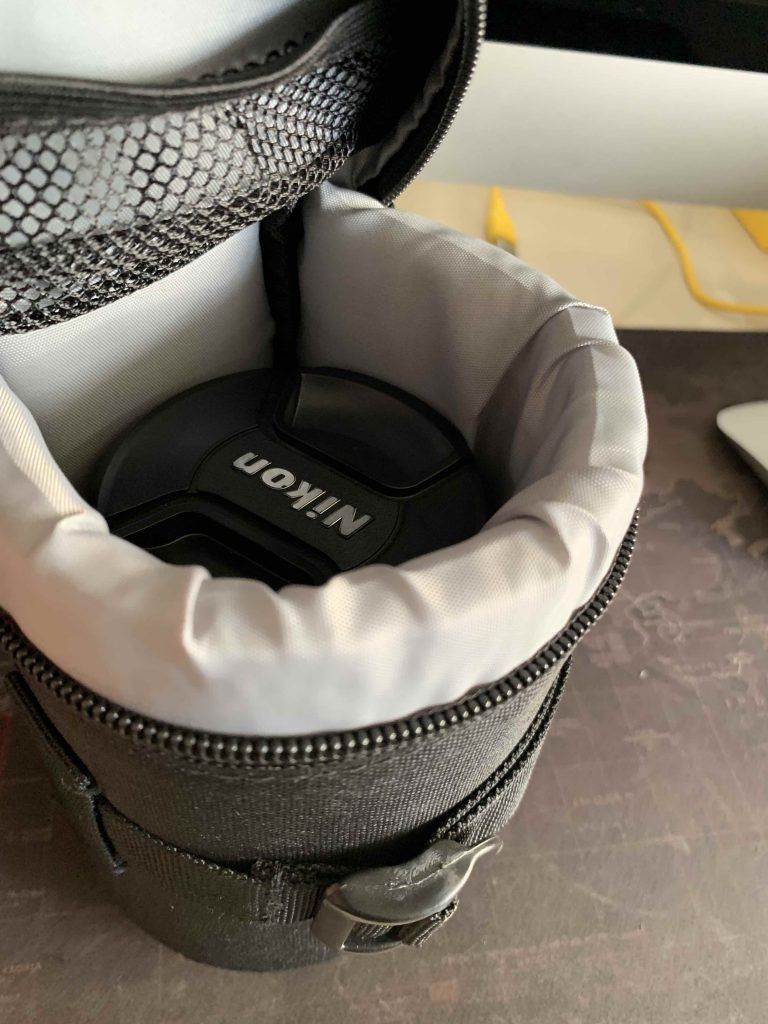
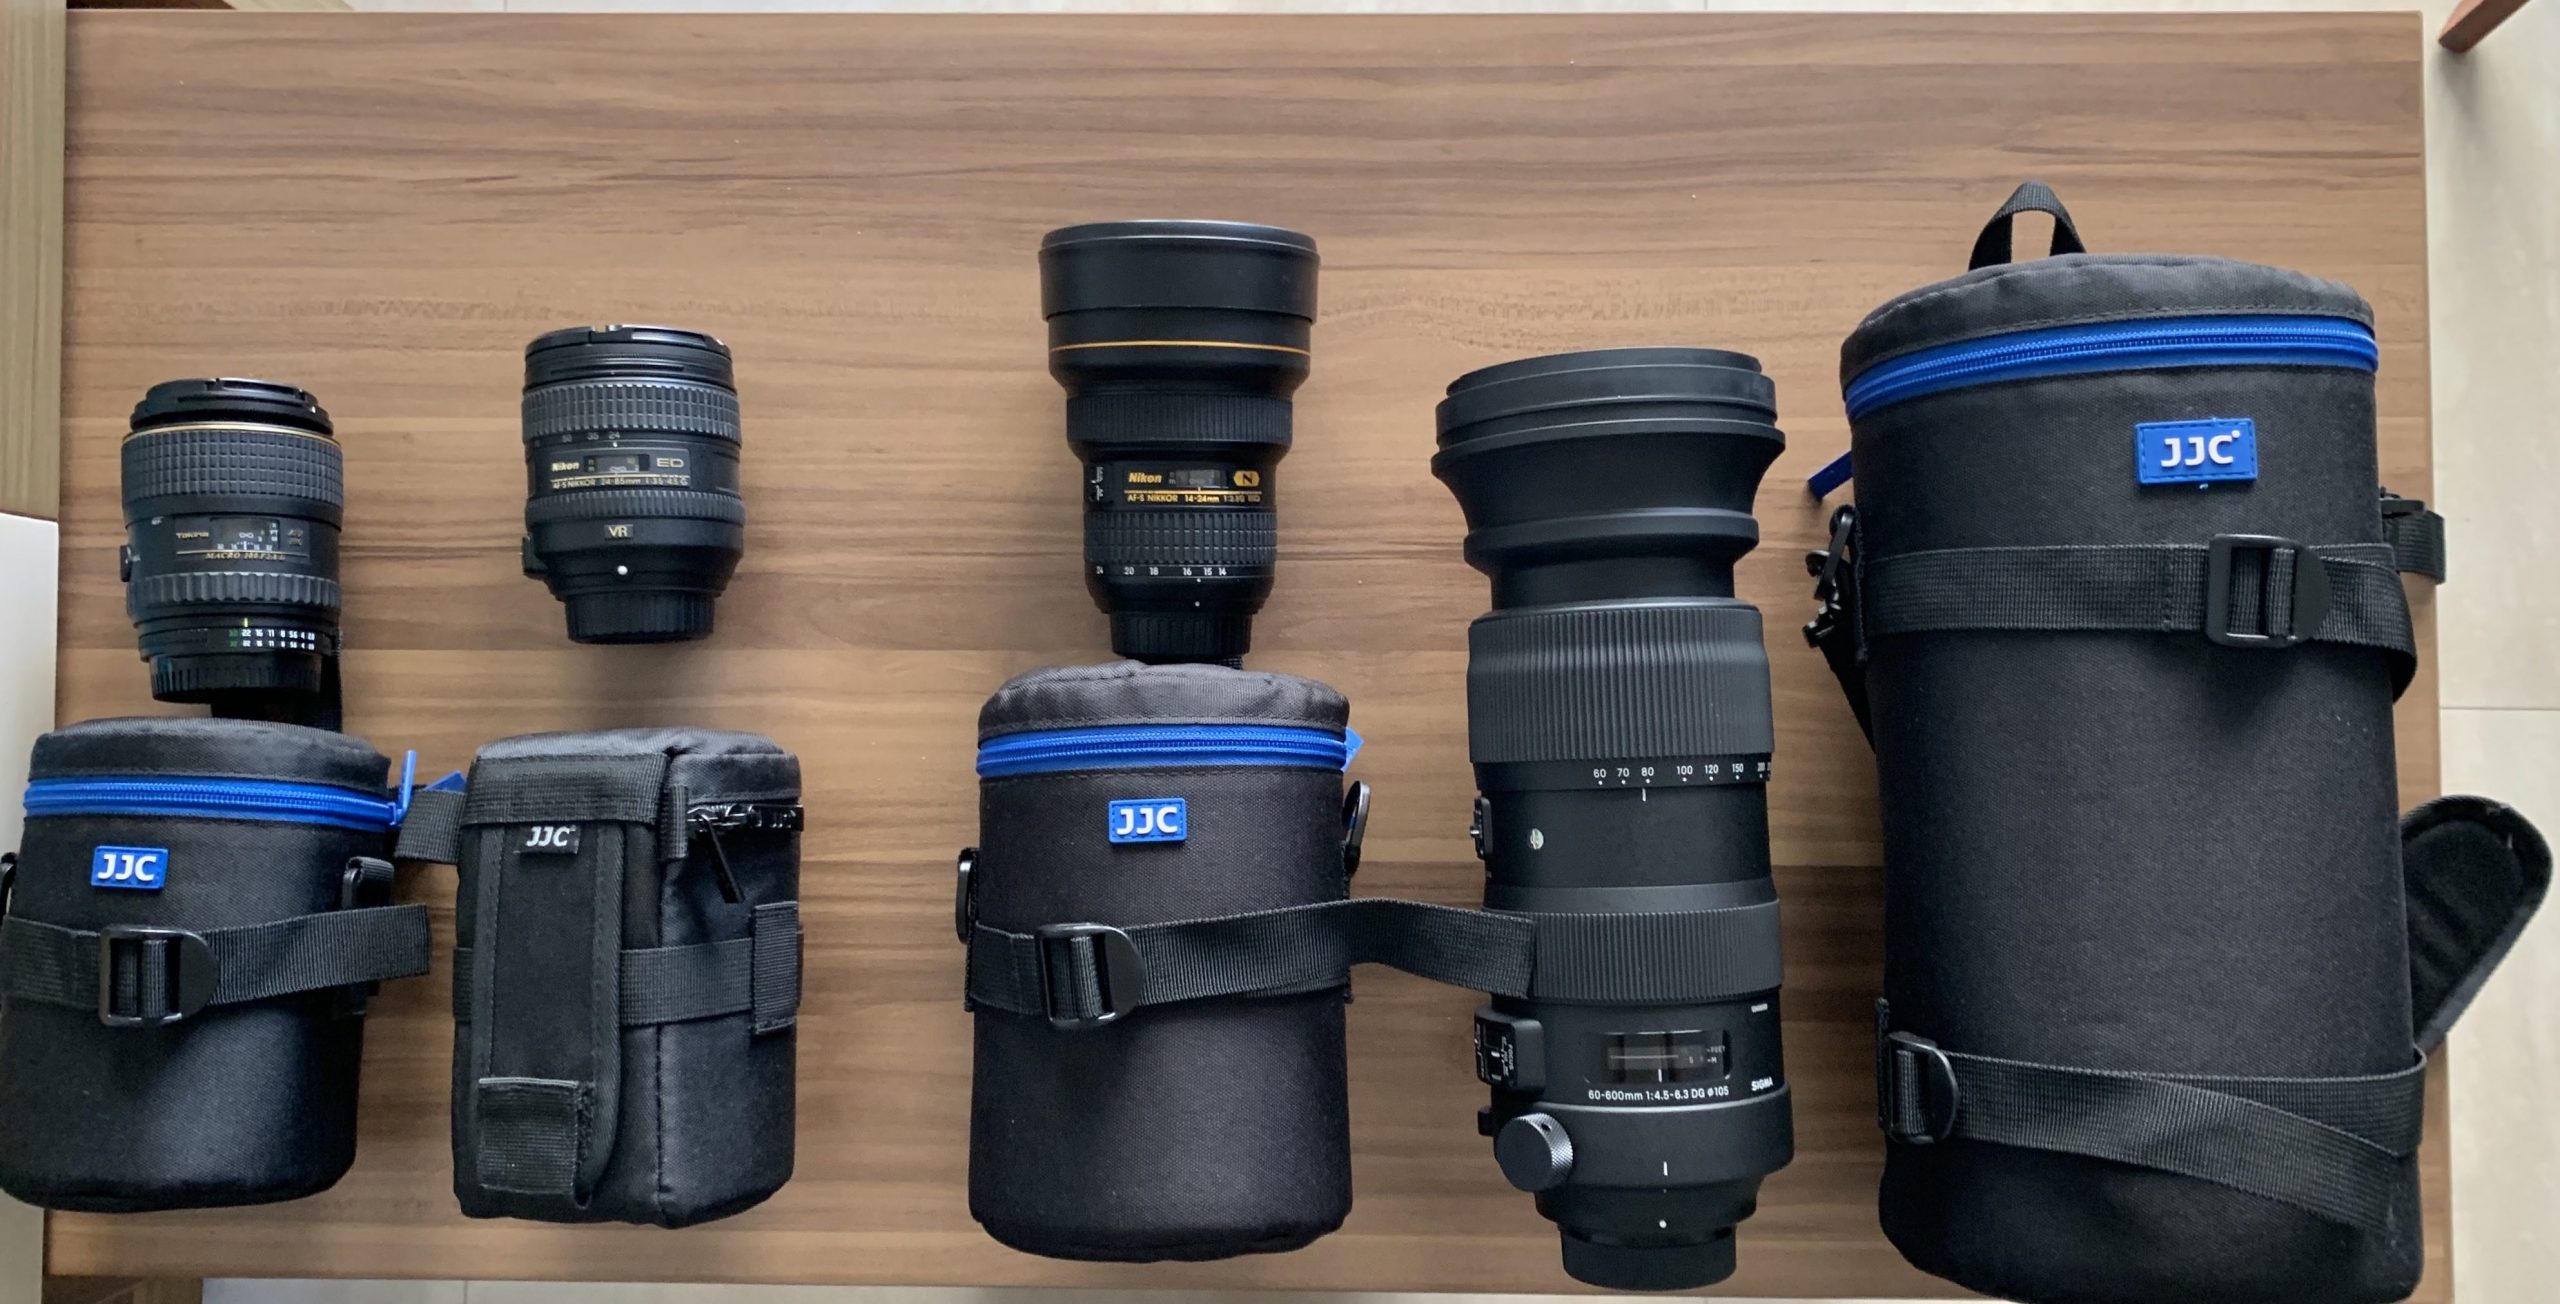
Taking photos in the snow with a DSLR can be a rewarding experience, but it’s important to take precautions to protect your camera and optimize your camera settings for the best results. Practice, review your shots, and adjust your settings as necessary to capture the beauty of winter landscapes.
Get some information about the images:
VIEW IMAGE METADATA WITH THIRD-PARTY APP:
There are third-party apps available on the App Store that can display image metadata, including geotags, DPI, if available in the image file. Our App “Exif Viewer by Fluntro” can provide you with detailed information about an image’s properties.
Appstore Link: – https://apps.apple.com/us/app/exif-viewer-by-fluntro/id944118456
- Visit the App Store on your iPhone or iPad.
- Search for “EXIF viewer by Fluntro“.
- Download and install the app. EXIF Viewer app allows you to view image metadata.
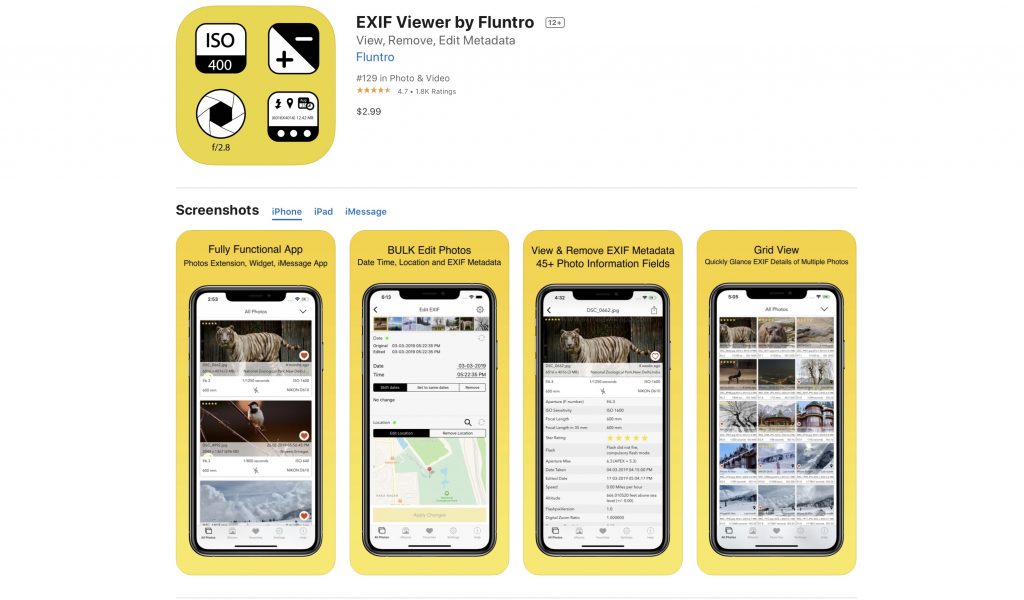
Checkout the preview video of Exif Viewer by Fluntro: