Cleaning your camera sensor is a delicate task that requires care and the right tools. A dirty sensor can lead to visible spots and blemishes in your photos.
Here’s a step-by-step guide on how to clean your camera sensor:
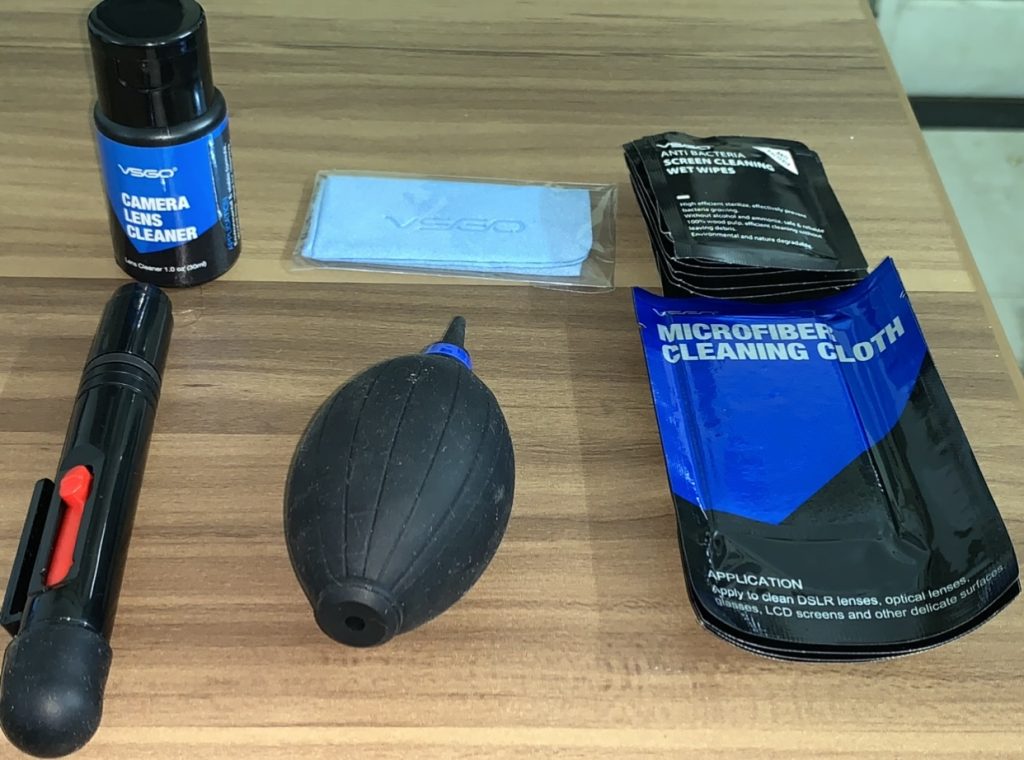
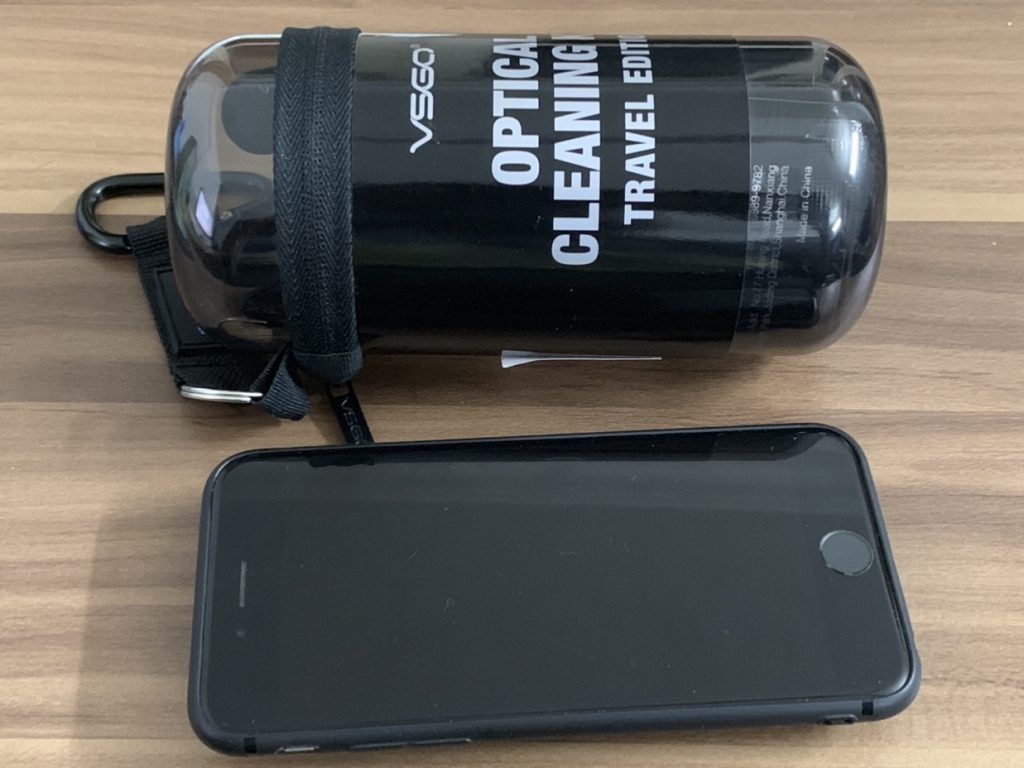
1. Gather your tools:
- A blower or air puffer
- Sensor cleaning swabs or brushes
- Sensor cleaning solution (specifically designed for camera sensors)
- Fully charged camera battery or external power source
- A clean, dust-free workspace with good lighting

2. Prepare your camera:
- Make sure your camera battery is fully charged or connected to an external power source. This prevents the mirror from closing and the sensor from moving while you’re cleaning.
3. Clean the exterior:
- Before opening the camera, ensure it is free from dust and debris on the outside to minimize the risk of introducing more dirt inside.
4. Access the sensor:
- In most DSLR and mirrorless cameras, you can access the sensor by putting your camera in sensor cleaning mode. Consult your camera’s manual for specific instructions.
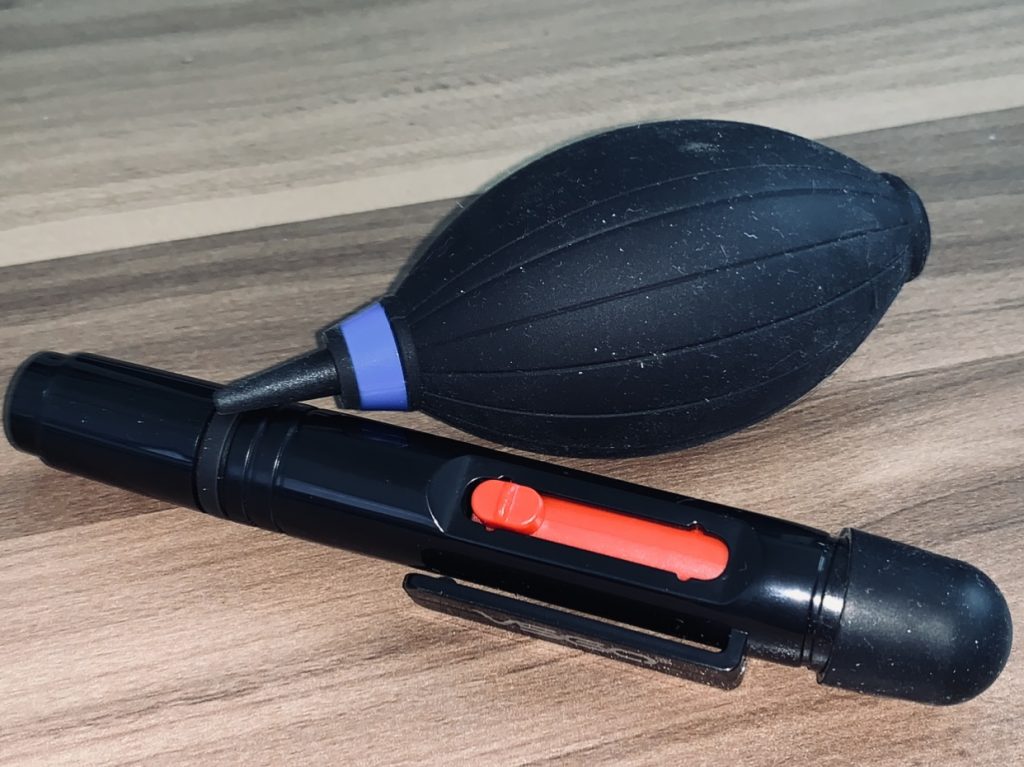
5. Use a blower or air puffer:
- Start by using a blower or air puffer to gently remove loose dust and debris from the sensor. Hold the camera with the mount facing downward to let gravity help in dislodging dust.
6. Inspect the sensor:
- Take a test shot of a clear, evenly lit surface (e.g., a white wall or piece of paper) with a small aperture (e.g., f/16) and review the image on your camera’s LCD. Any visible dust or smudges on the sensor will show up as dark spots. This will help you identify areas that need cleaning.
7. Clean the sensor:
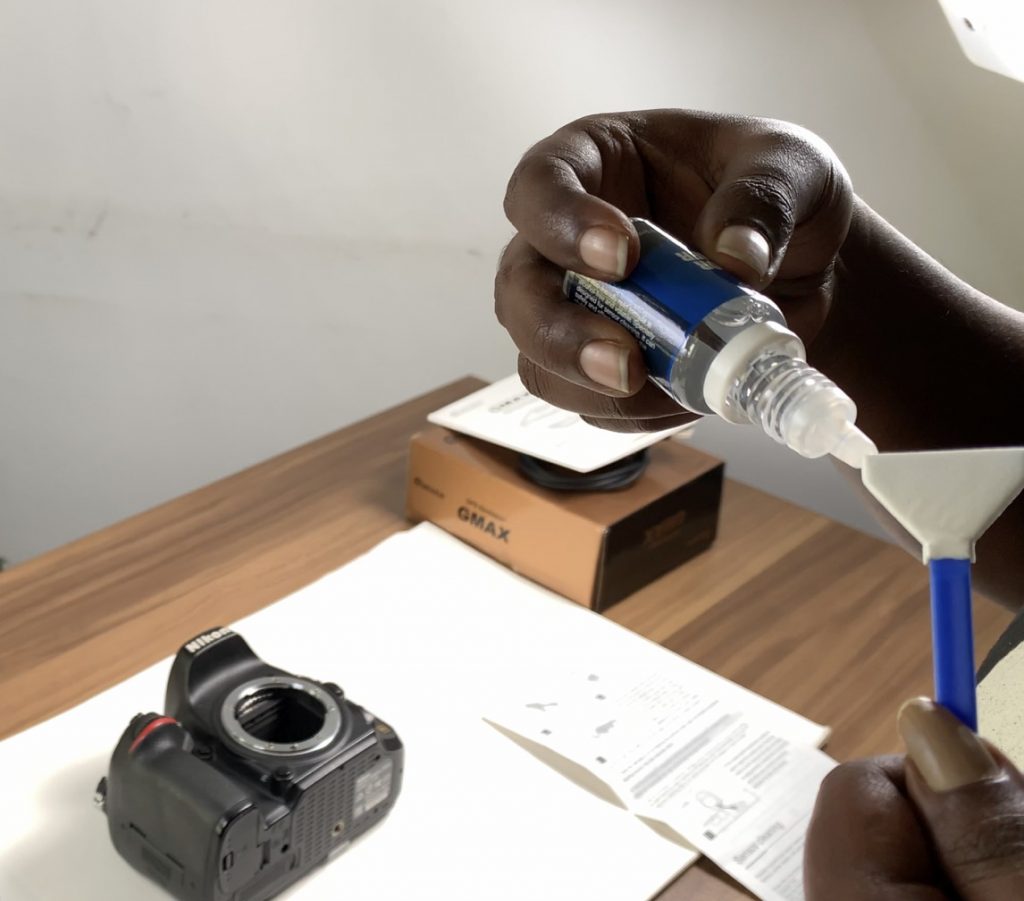
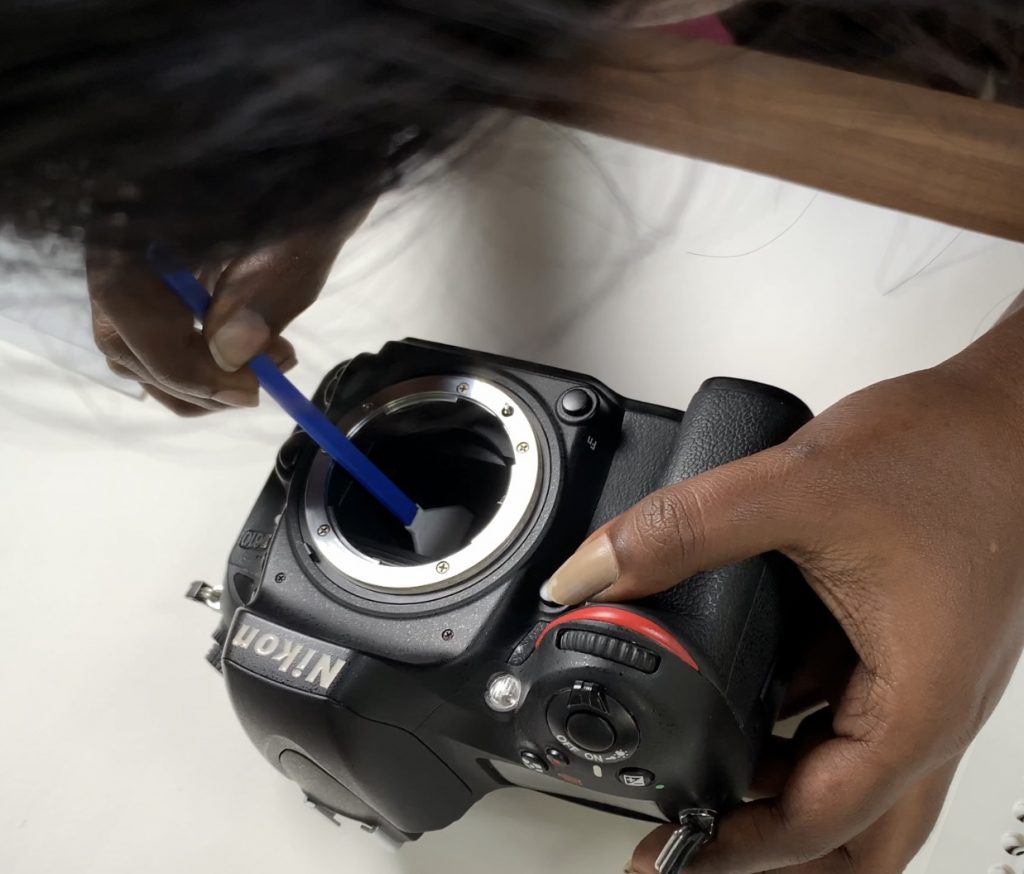
- If the blower didn’t remove all the dust, you can use sensor cleaning swabs or brushes. Follow the manufacturer’s instructions for these tools, as they can vary depending on the brand. Generally, you’ll apply a few drops of sensor cleaning solution to the swab or brush and then gently swipe it across the sensor in one direction. Do not apply excessive pressure, and never reuse swabs or brushes to avoid cross-contamination.
8. Repeat if necessary:
- After cleaning, take another test shot to check for any remaining spots. If necessary, repeat the cleaning process.
9. Close the camera:
- Once you’re satisfied with the sensor’s cleanliness, exit the sensor cleaning mode on your camera. Turn off your camera, or reattach the lens and turn it on.
10. Prevent future dust:
- Always keep your camera’s lens mount facing down when changing lenses.
- Use a body cap or rear lens cap to cover the camera body when the lens is removed.
- Store your camera in a clean, dust-free environment.
If you’re uncomfortable or unsure about cleaning your camera’s sensor, it’s a good idea to have it professionally cleaned by a camera technician or service center. They have the expertise and equipment to clean sensors safely and effectively.
When to Clean your Camera Sensors?
Knowing when to clean your camera sensor is essential for maintaining the quality of your photos. Here are some indicators that it’s time to clean your camera sensor:
- Visible Spots or Blemishes: The most obvious sign is when you see dark spots, smudges, or blemishes in your photos, especially when using small apertures (high f-stop numbers). These spots are usually caused by dust or dirt on the sensor.
- Dust on Test Shots: If you regularly take test shots of a clear, evenly lit surface (e.g., a white wall or piece of paper) with a small aperture and consistently notice dust spots, it’s time to clean your sensor.
- Regular Lens Changes: If you frequently change lenses in outdoor or dusty environments, your camera sensor is more likely to accumulate dust. In this case, you may need to clean it more often.
- Environmental Conditions: Shooting in dusty, sandy, or windy environments can increase the chances of dust and debris finding their way onto your sensor.
- Extended Use: Over time, sensor dust can accumulate even without changing lenses frequently. If you use your camera regularly, especially in harsh conditions, it’s a good practice to periodically check and clean the sensor.
- Before Important Shoots: If you have an important photo shoot coming up, it’s a good idea to clean your sensor in advance to ensure that your images come out clean and free of blemishes.
- When the Camera Alerts You: Some cameras have a built-in sensor cleaning system that can be set to activate when you turn the camera on or off. If your camera gives you a sensor cleaning alert, it’s a good time to inspect and clean the sensor if needed.
Remember that cleaning the sensor is a delicate process and should be done with care. If you’re unsure about the cleanliness of your sensor or how to clean it, consider having it professionally cleaned by a camera technician or service center. They have the expertise and equipment to do the job correctly and safely.
Now get some information about the images:
VIEW IMAGE METADATA WITH THIRD-PARTY APP:
There are third-party apps available on the App Store that can display image metadata, including geotags, DPI, if available in the image file. Our App “Exif Viewer by Fluntro” can provide you with detailed information about an image’s properties.
Appstore Link: – https://apps.apple.com/us/app/exif-viewer-by-fluntro/id944118456
- Visit the App Store on your iPhone or iPad.
- Search for “EXIF viewer by Fluntro“.
- Download and install the app. EXIF Viewer app allows you to view image metadata.

Checkout the preview video of Exif Viewer by Fluntro: