Macro photography requires specific settings and techniques to capture small subjects with great detail. The best settings for macro photography can vary depending on your equipment, lighting conditions, and creative goals, but here are some general guidelines:
1. ISO:
- Begin with the lowest ISO setting your camera offers (e.g., ISO 100 or 200) to minimize noise in your images. If you’re in low light conditions, you might need to increase the ISO, but try to keep it as low as possible to maintain image quality.
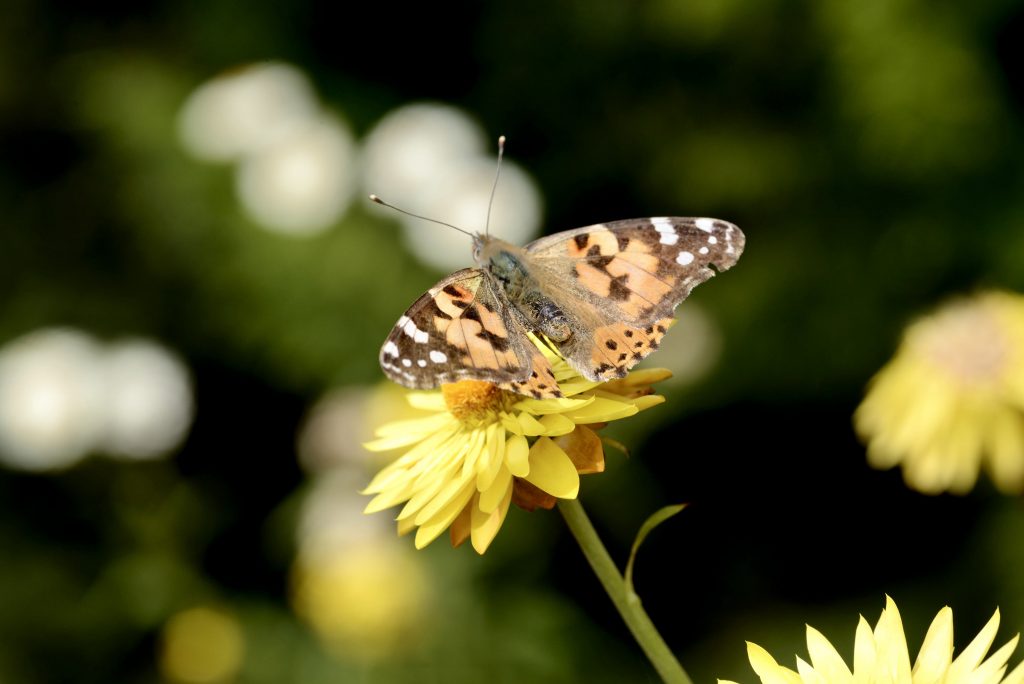
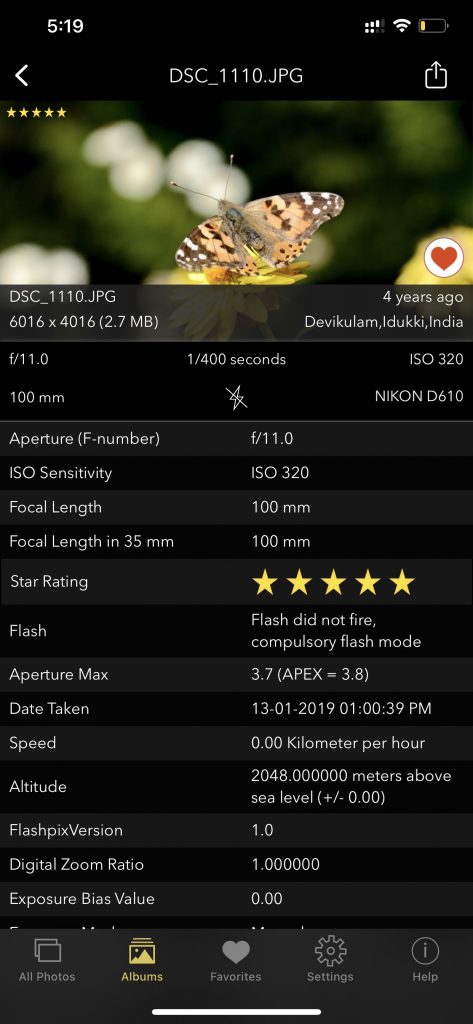
2. Aperture (f-number):
- Use a narrow aperture (high f-number) to increase the depth of field and capture more detail in your subject. Aperture settings like f/16, f/22, or even higher are commonly used in macro photography. However, be cautious with very small apertures, as they can lead to diffraction and reduce overall sharpness. Start with an aperture of around f/16 and adjust from there based on your specific needs.
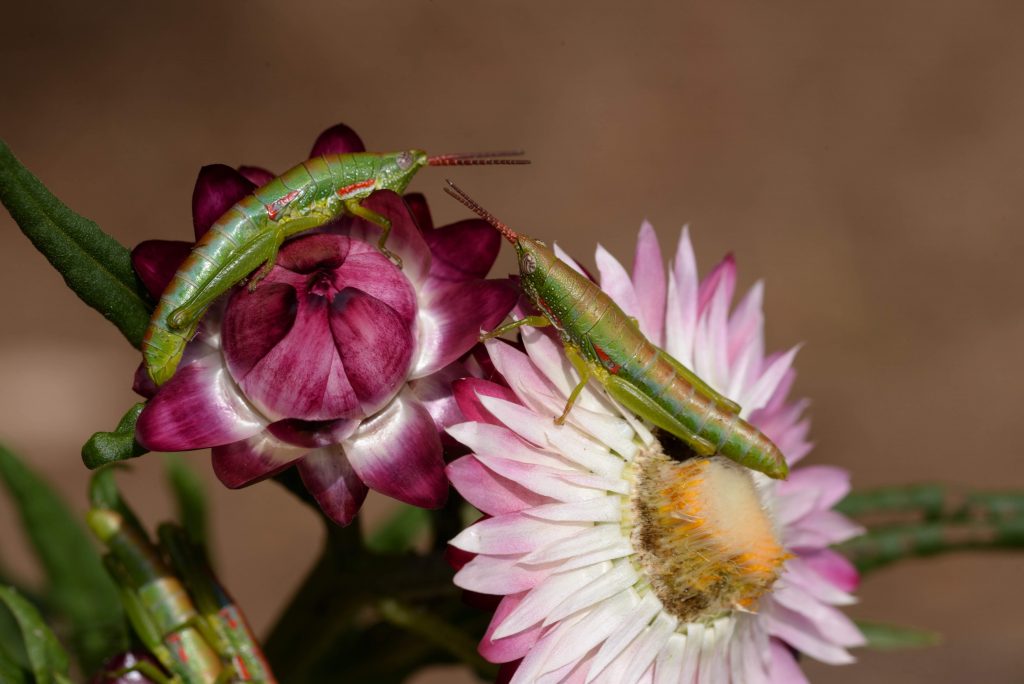
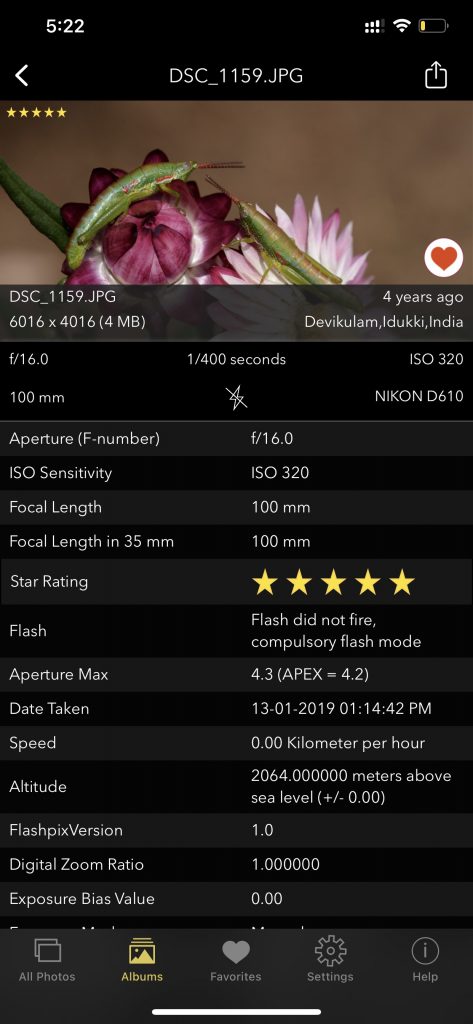
3. Exposure:
- The exposure settings will depend on the available light and your chosen aperture and ISO. In macro photography, it’s often necessary to use a tripod to avoid camera shake. If you’re handholding the camera, make sure to use a fast enough shutter speed to prevent motion blur. A speed of 1/125 sec or faster is a good starting point, but faster speeds may be needed if your subject is moving.
4. Shutter Speed:
- To prevent motion blur, use a fast shutter speed. A general guideline is to aim for a minimum shutter speed of 1/125 second. If you’re handholding the camera, you might need even faster speeds to compensate for any camera shake. If your subject is moving, like an insect, use an even faster shutter speed.
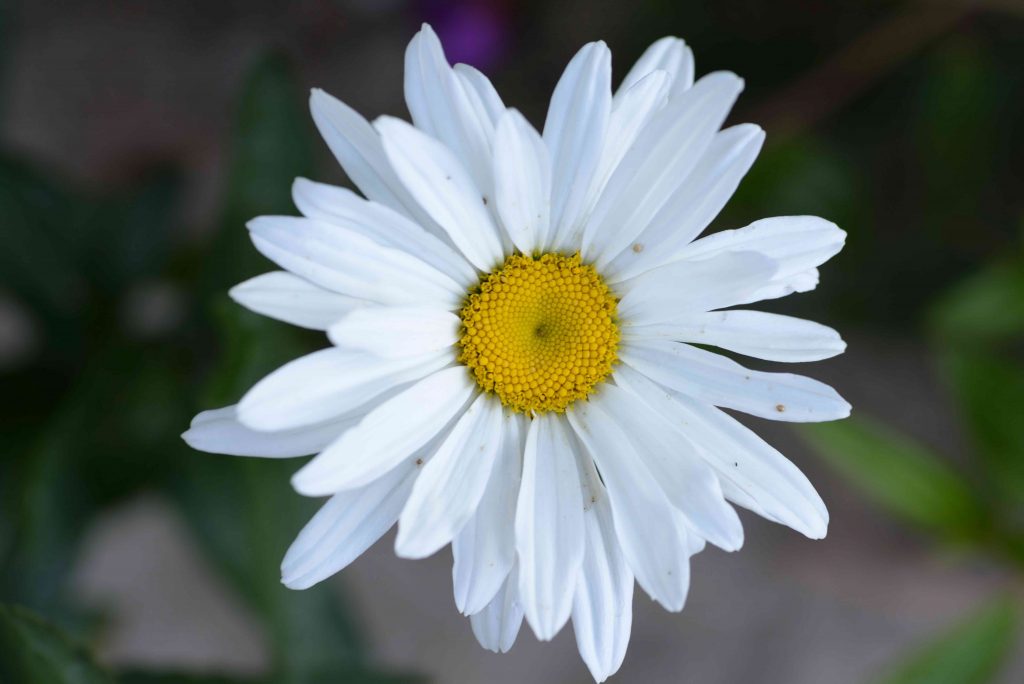
5. Focal Length:
- A dedicated macro lens is typically the best option for macro photography. These lenses are available in various focal lengths, such as 50mm, 90mm, 100mm, or 180mm. Longer focal lengths allow you to shoot from a greater distance, which can be useful for photographing skittish subjects or getting more working distance from your subject.
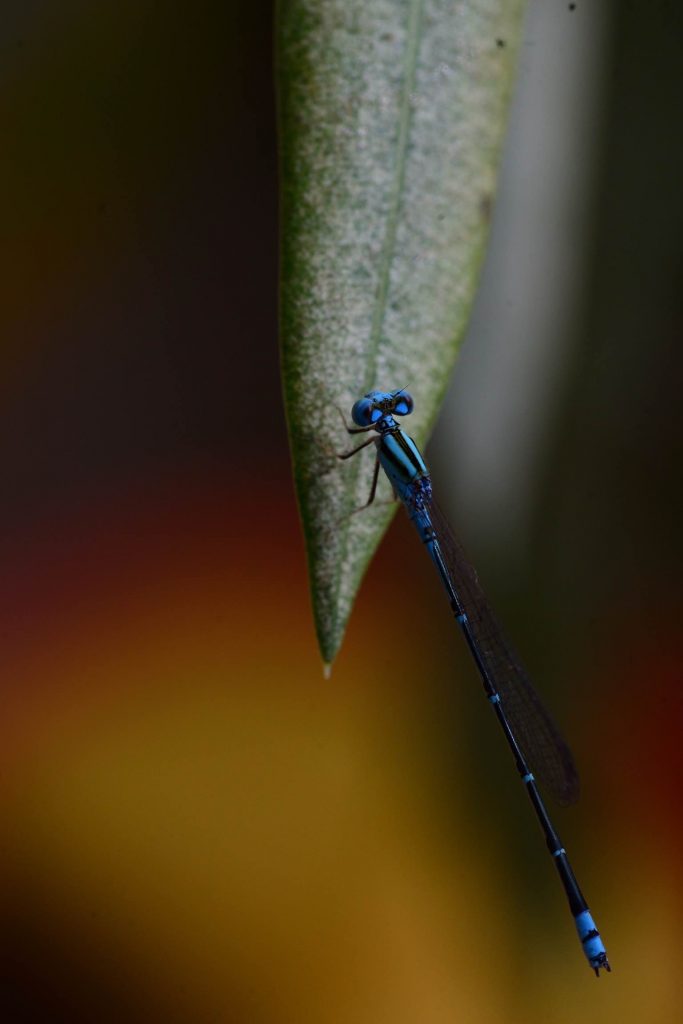
6. Focus:
- For precise focusing in macro photography, consider using manual focus. Macro lenses have a short depth of field, and autofocus might struggle with the fine details of your subject. You can use live view or magnification features on your camera to fine-tune the focus. Also use focus stacking techniques to combine multiple images at different focus points for maximum depth of field.
7. Stabilization:
- Macro photography is highly sensitive to camera shake, so using a tripod or a stable surface is crucial. Consider using a remote shutter release or a timer to prevent any camera movement or avoid touching the camera when taking the shot.
8. Lighting:
- Good lighting is crucial in macro photography. Natural light can work well, especially on overcast days, but you may need additional lighting like a macro ring flash or a diffused off-camera flash to control and enhance the lighting.
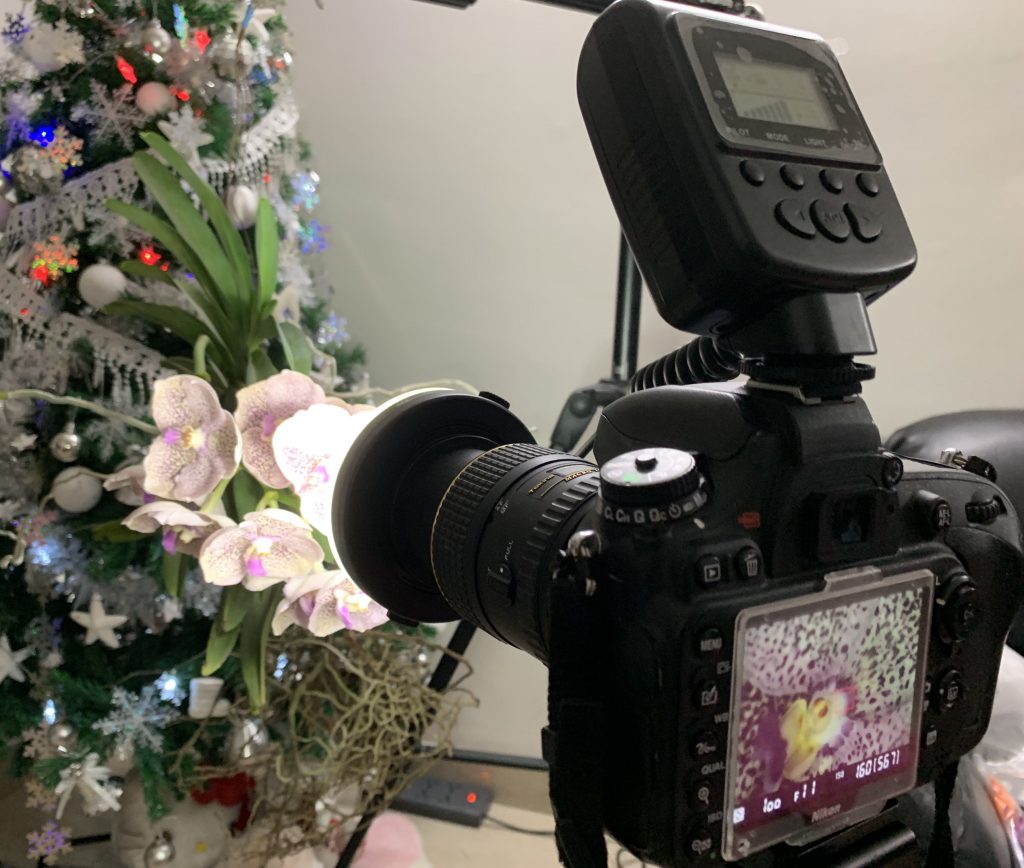
9. Composition:
- Pay attention to the composition of your shot. Macro photography allows for a lot of creative freedom. Consider background, framing, and the angle at which you shoot your subject. Also, be patient and take your time to compose your shots carefully.
- Apply composition principles such as the rule of thirds, leading lines, and symmetry to create visually appealing macro shots. Try different angles and perspectives to find the most compelling composition.
10. Subject and Background:
- Choose your subject carefully, and be mindful of the background. A cluttered or distracting background can take away from the impact of your macro shot. Consider using a shallow depth of field (achieved with a wide aperture) to create a blurred background (bokeh).
11. White Balance:
- Set the appropriate white balance based on your lighting conditions to ensure accurate color reproduction. You can also adjust white balance in post-processing if needed.
12. Metering Mode:
- Use evaluative or matrix metering mode for most situations, as it considers various parts of the frame. However, be prepared to make exposure adjustments based on your subject and the background.
13. Drive Mode:
- If your camera has a burst or continuous shooting mode, use it to capture multiple shots in quick succession. This can help you capture a sharp image when working with subjects that may be moving slightly due to wind or other factors.
14. Experiment:
- The best settings for macro photography may vary depending on the specific subject and conditions. Experiment with different settings, and don’t be afraid to make adjustments based on the results you’re getting.
15. Learn using App:
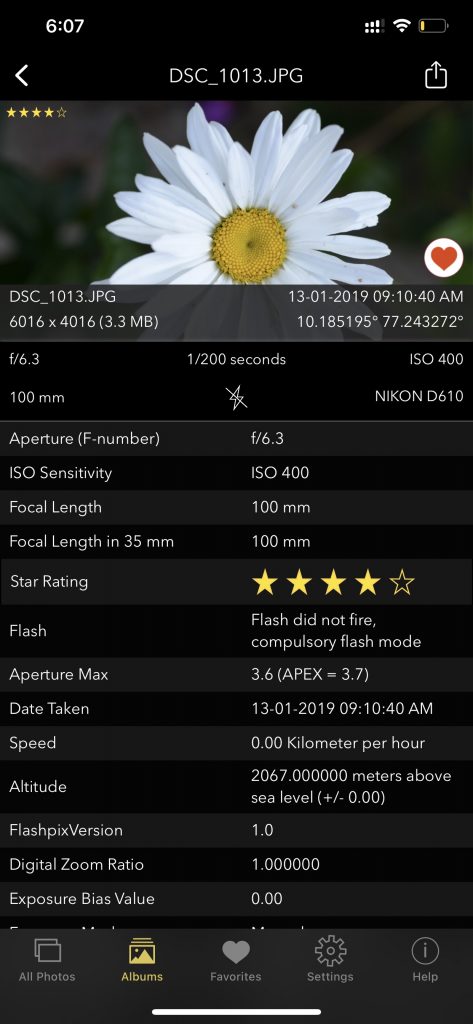
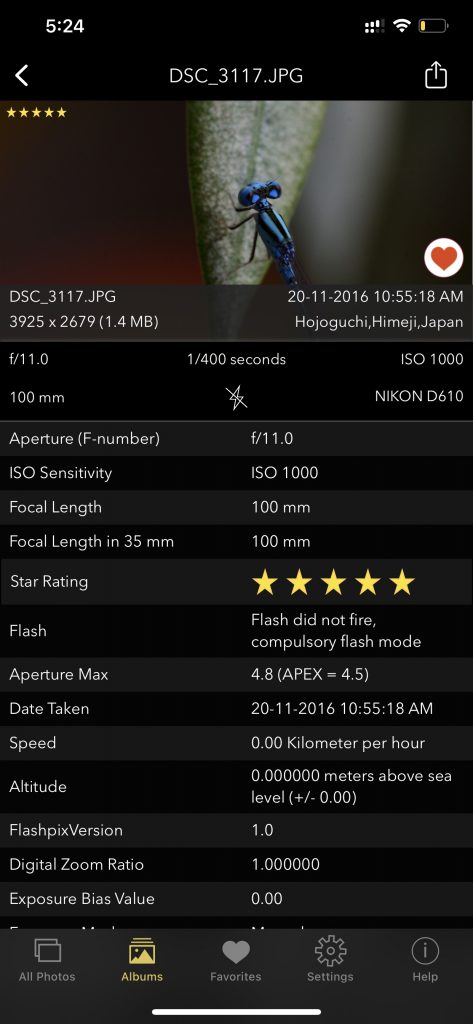
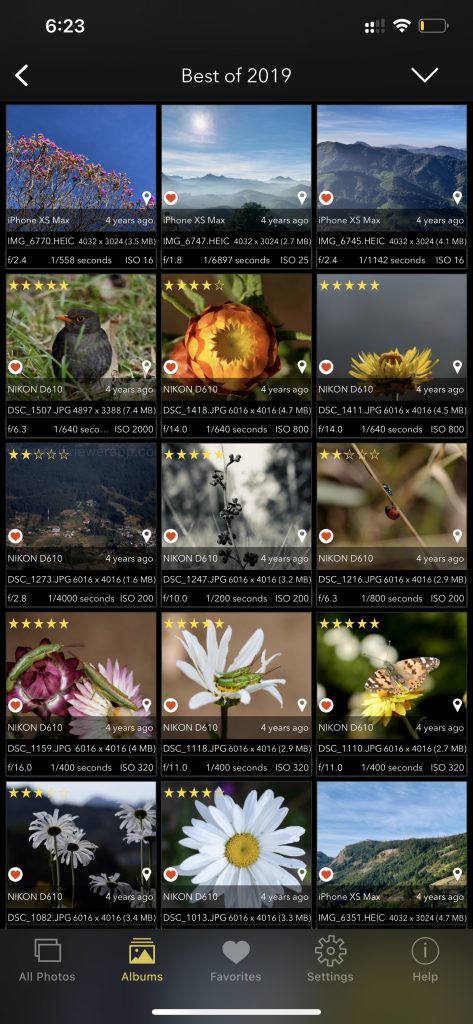
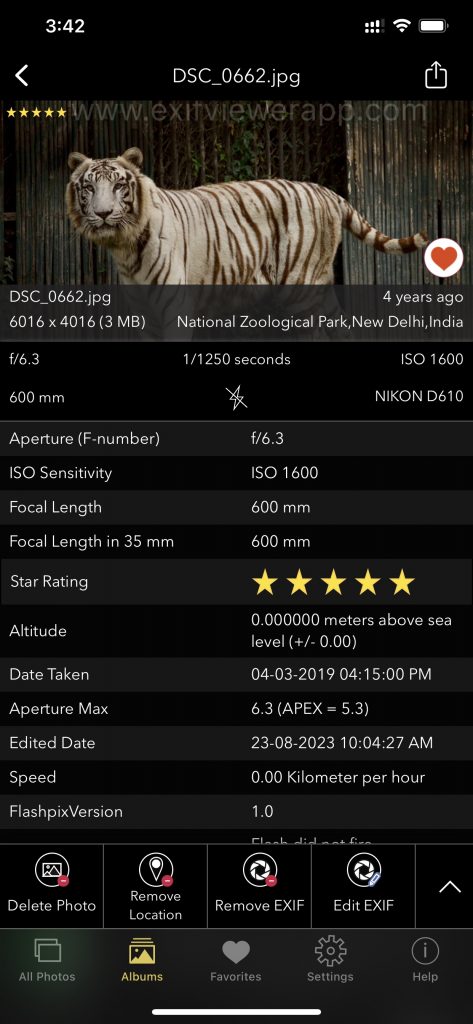
- Use the EXIF app to view the EXIF data of photographs taken by experienced photographers. This can provide insights into their shooting techniques and settings. You can learn a lot by examining the settings they used to capture specific shots.
Image showing all exif details using Exif Viewer App by Fluntro:
VIEW IMAGE METADATA WITH THIRD-PARTY APP:
There are third-party apps available on the App Store that can display image metadata, including Geotags, DPI, if available in the image file. Our App “Exif Viewer by Fluntro” can provide you with detailed information about an image’s properties.
Appstore Link: – https://apps.apple.com/us/app/exif-viewer-by-fluntro/id944118456
- Visit the App Store on your iPhone or iPad.
- Search for “EXIF viewer by Fluntro“.
- Download and install the app. EXIF Viewer app allows you to view image metadata.

Checkout the preview video of Exif Viewer by Fluntro:
Ultimately, the best settings for macro photography will depend on your specific equipment, the subject, and your creative vision, so don’t hesitate to try different settings and techniques to achieve the desired results.
3 thoughts on “ISO, Aperture and Shutter Speed for Macro Shots”