How to Rotate Photos on iPhone or iPad?
Learn how to easily rotate photos on iPhone or iPad with this step-by-step guide. Fix sideways images, adjust angles, and improve your photo orientation quickly!
By Mohith K MUpdated 3 min read
Rotating photos on your iPhone or iPad is simple and can help you get the perfect orientation for your pictures. Whether you accidentally captured an image sideways or want to adjust the angle for a more artistic look, the Photos app on iOS makes it easy. This guide covers everything you need to know to rotate your photos on an iPhone or iPad, so let’s dive in!

Why Rotate Photos on iPhone or iPad?
Rotating photos on your iPhone or iPad is a handy feature that can fix orientation issues, improve the framing, and enhance the look of your image. Common reasons to rotate a photo include:
- Fixing sideways or upside-down photos
- Adjusting the angle for better aesthetics
- Preparing images for sharing or social media
Steps to Rotate Photos on iPhone or iPad
Here’s a step-by-step guide on how to rotate photos using the built-in Photos app on your iOS device. This guide works for both iPhone and iPad running iOS 13 and later versions.
1: Open the Photos App
- Launch the Photos app on your iPhone or iPad. This is the app where all your photos and videos are stored.
2: Select the Photo You Want to Rotate
- Find and tap on the photo you wish to rotate.
- Tap on the photo to view it in full screen.
3: Enter Edit Mode
- Tap on Edit in the top-right corner of the screen. This will open the editing tools where you can make adjustments to the photo.
4: Open the Crop & Rotate Tool
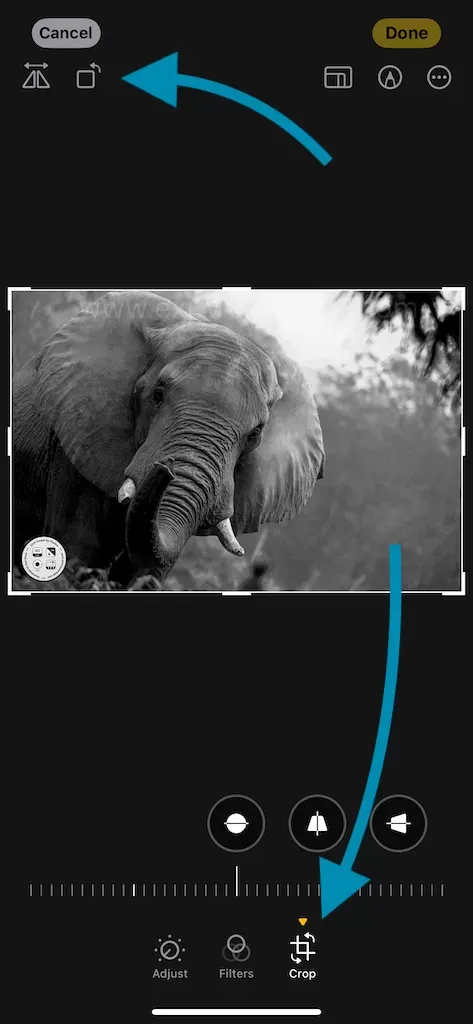
- In the editing menu, tap on the Crop and Rotate icon (which looks like a square with rotating arrows).
- This tool allows you to crop, straighten, and rotate your photos.
5: Rotate the Photo
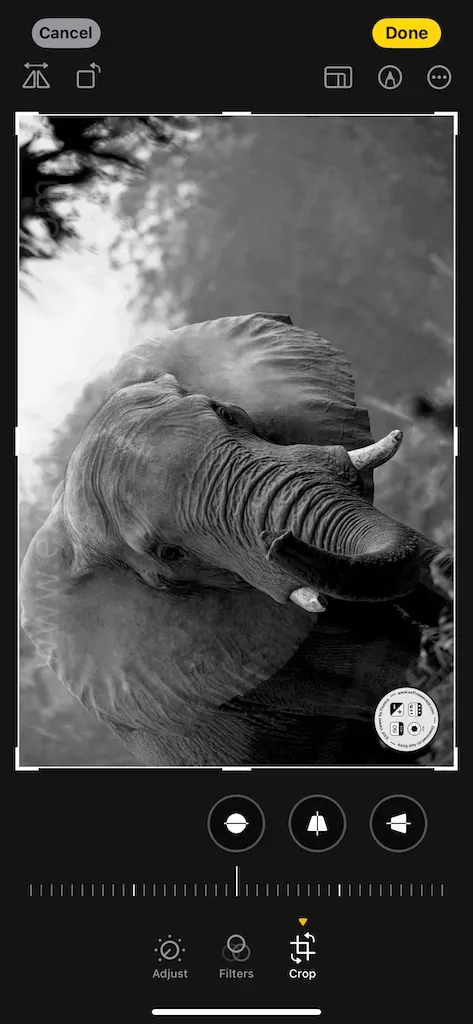
- Tap on the rotate button (a square with an arrow pointing around it) in the bottom left corner of the screen. Each tap rotates the photo 90 degrees clockwise.
- Continue tapping until your photo reaches the desired orientation.
6: Save Your Changes
- Once you’re satisfied with the rotation, tap on Done in the bottom-right corner.
- Your rotated photo will be saved automatically in its new orientation.

Alternative Way: Using Third-Party Apps to Rotate Photos on iPhone or iPad
If you want more advanced editing options, several apps on the App Store offer additional tools:
- Adobe Lightroom: Known for its powerful editing tools, Lightroom allows precise adjustments, including rotation.
- Snapseed: This app provides custom rotation angles and other professional editing features.
Additional Tips for Rotating Photos on iPhone or iPad
- Straighten Tool: The Photos app also has a “Straighten” tool in the Crop & Rotate menu, allowing you to fine-tune the angle of the photo.
- Flip the Image: For a mirrored effect, use the “Flip” option in the Crop tool to change the direction of the image.
- Undo Changes: If you want to revert the photo to its original orientation, simply go back to Edit mode and tap on “Revert” to remove all edits.
Using the Photos app to rotate pictures on your iPhone or iPad is quick and intuitive, allowing you to make adjustments in seconds. By mastering these steps, you can keep your photo library looking polished and share-worthy. Happy editing!
To improve your Photography, Go Manual mode, using EXIF Metadata to learn settings